Images
Egg Project
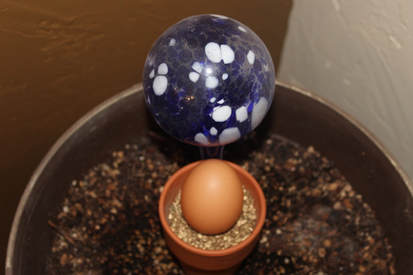
For this project we had to take an everyday object like an egg, and put a custom spin onto it to demonstrate that it has its own voice. I used this setting because I liked the surroundings in the picture. The egg is sitting in a pot of gold rocks under a glass sphere representing the globe. The camera was on manual focus with flash on.
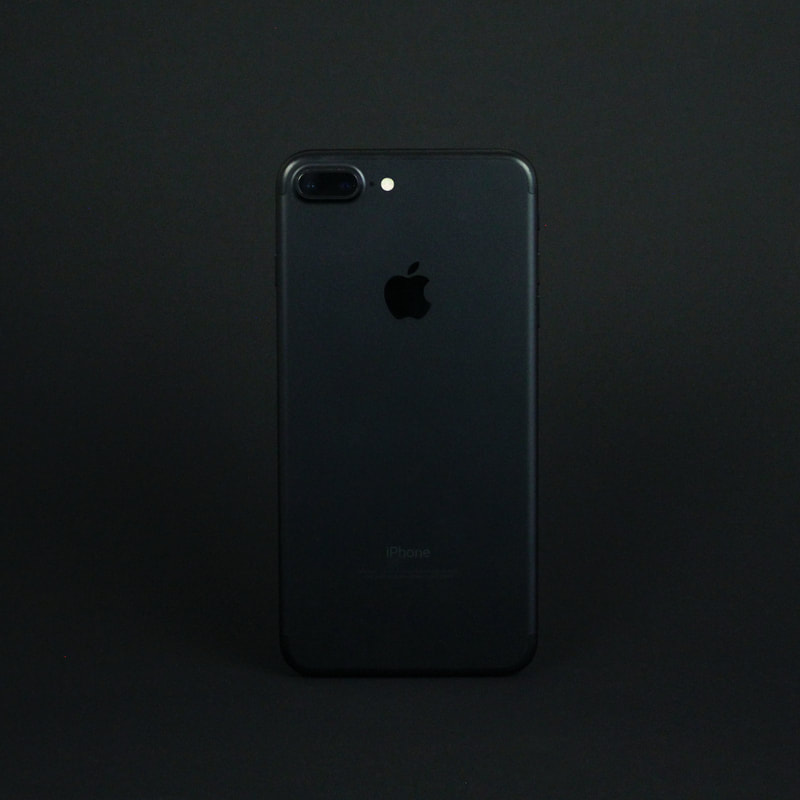
Pin Hole
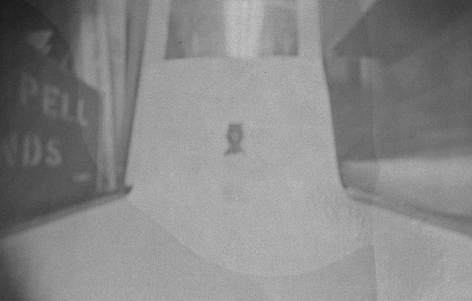
The pin hole project was one of the coolest projects yet. We demonstrated that it is possible to create a successful working camera simply using a box a pin whole and a special piece of paper. first we needed to find a box, I used an Iphone 7+ box because I felt it was the perfect size for the camera. Then we would cover the whole with a piece of tape to protect from light. After positioning our cameras we ripped the tape off to expose the paper to light and after 15 minutes the image would be burned into the paper. then we would run it through some solutions and then up to dry!
Shutter Speed (Panning)

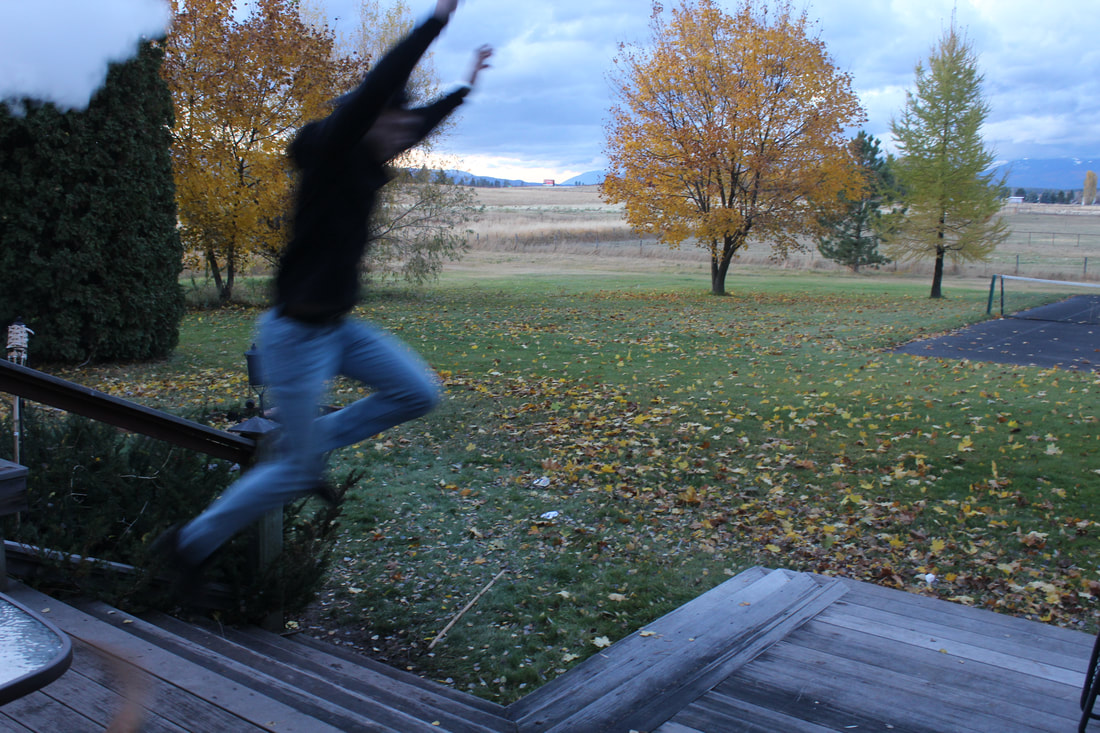
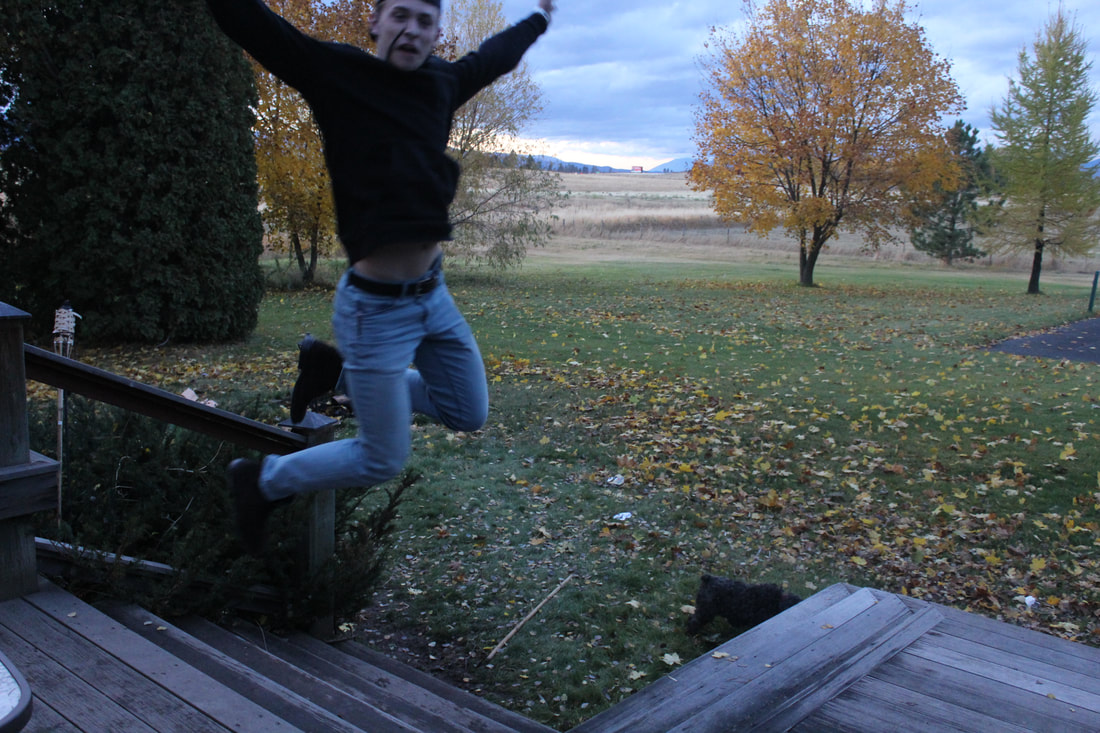
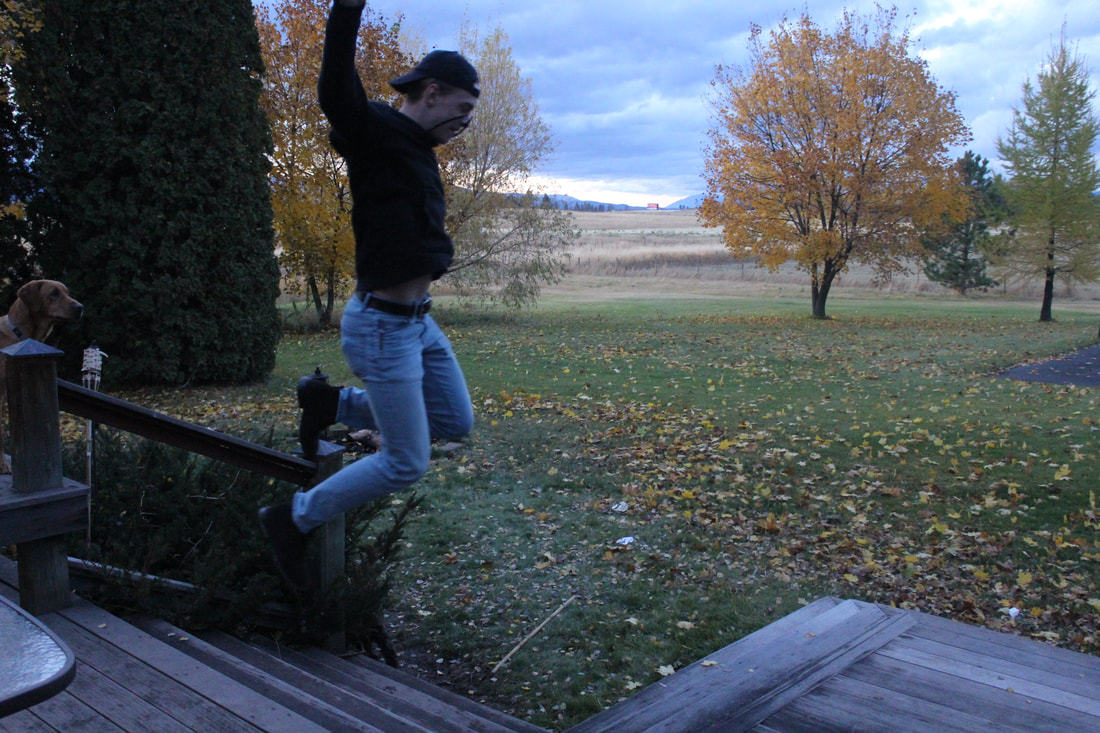
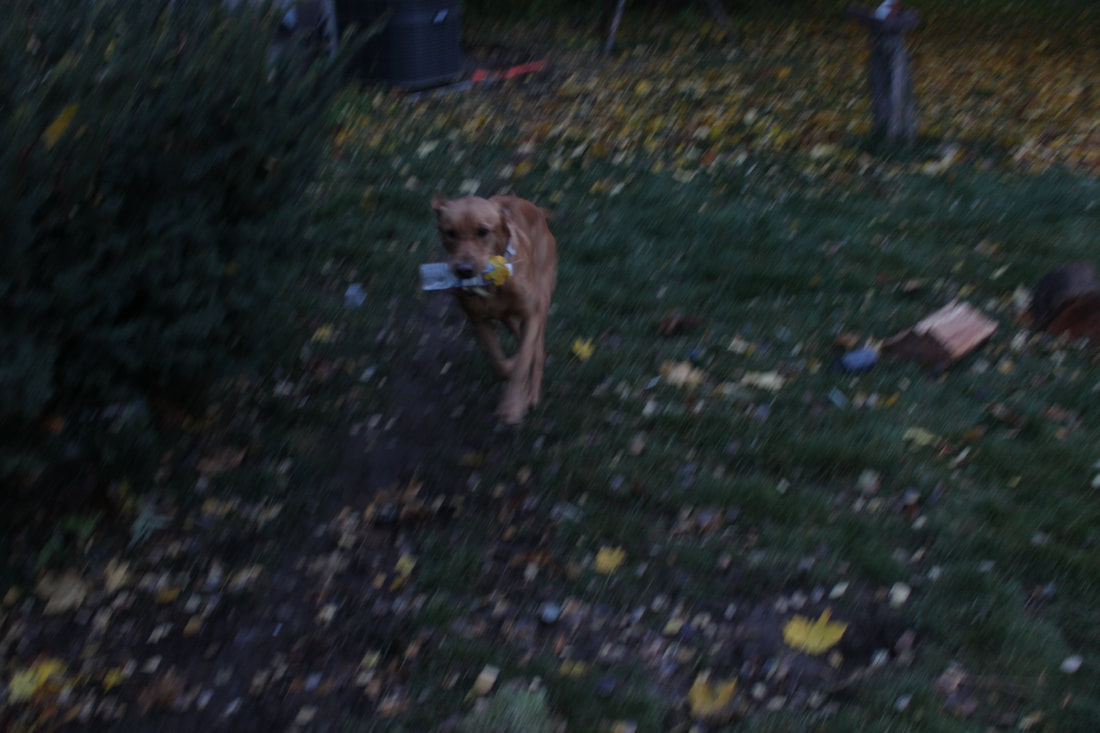
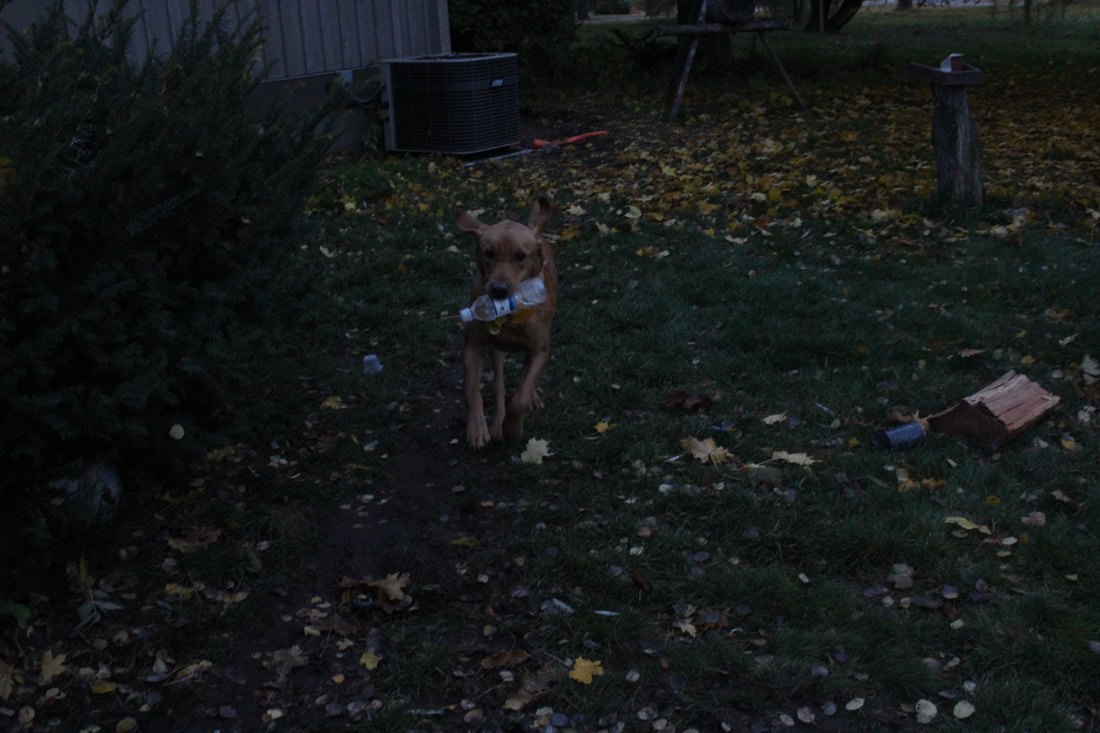
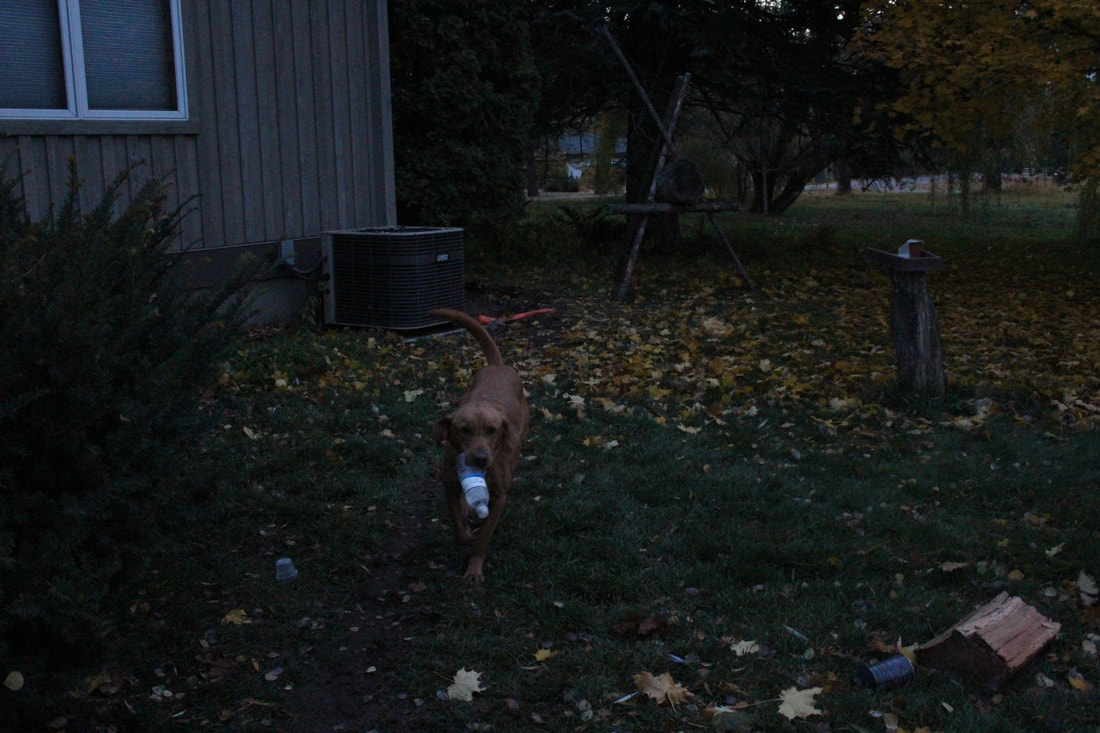
For the Shutter speed panning project it was definitely the most "hands on camera" project yet. We took three different photos at three different shutter speeds. I made the necessary adjustments to maintain good quality and exposure.
Aperture
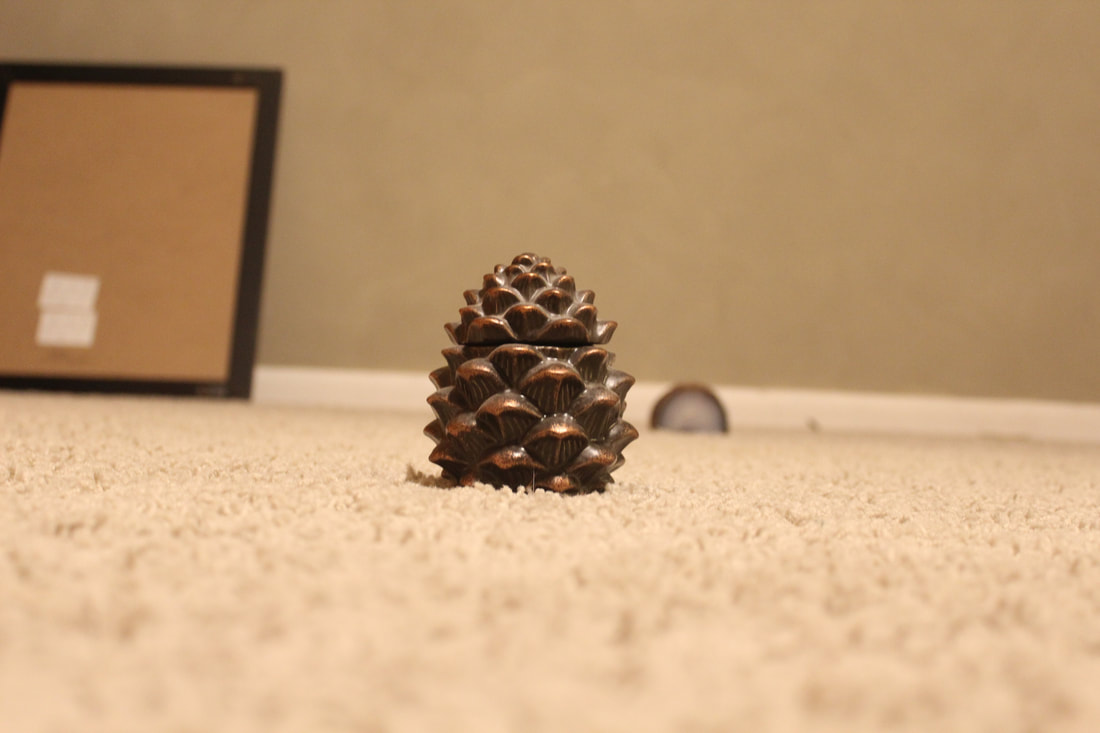

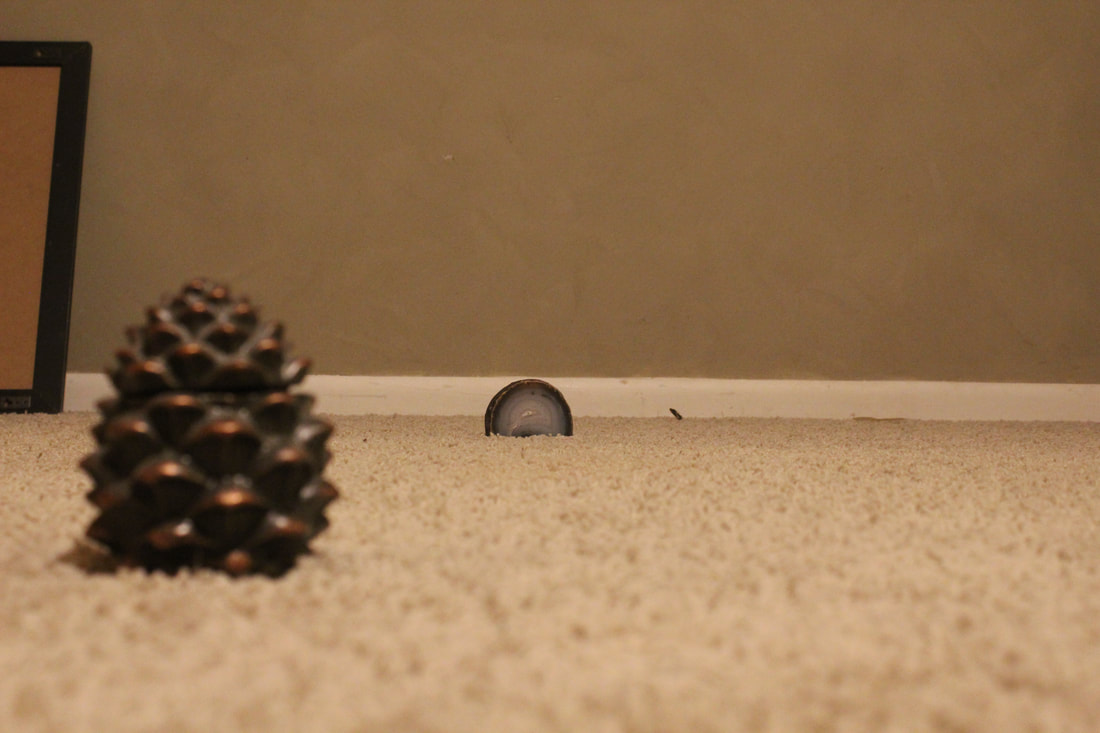

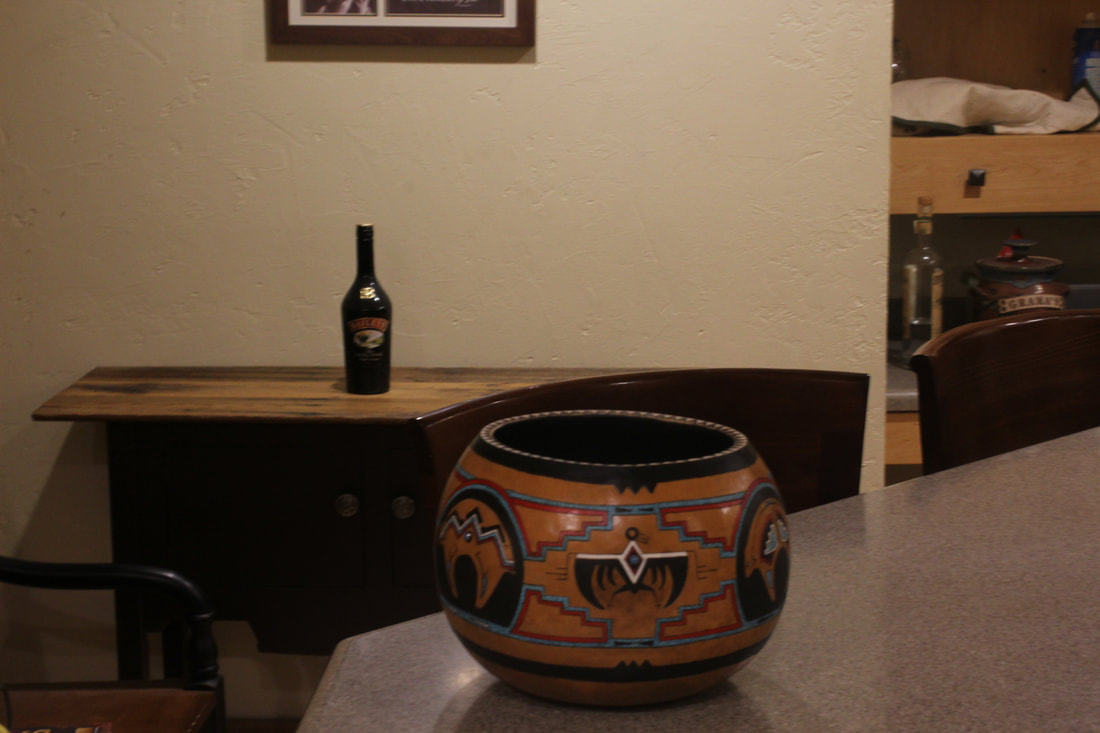
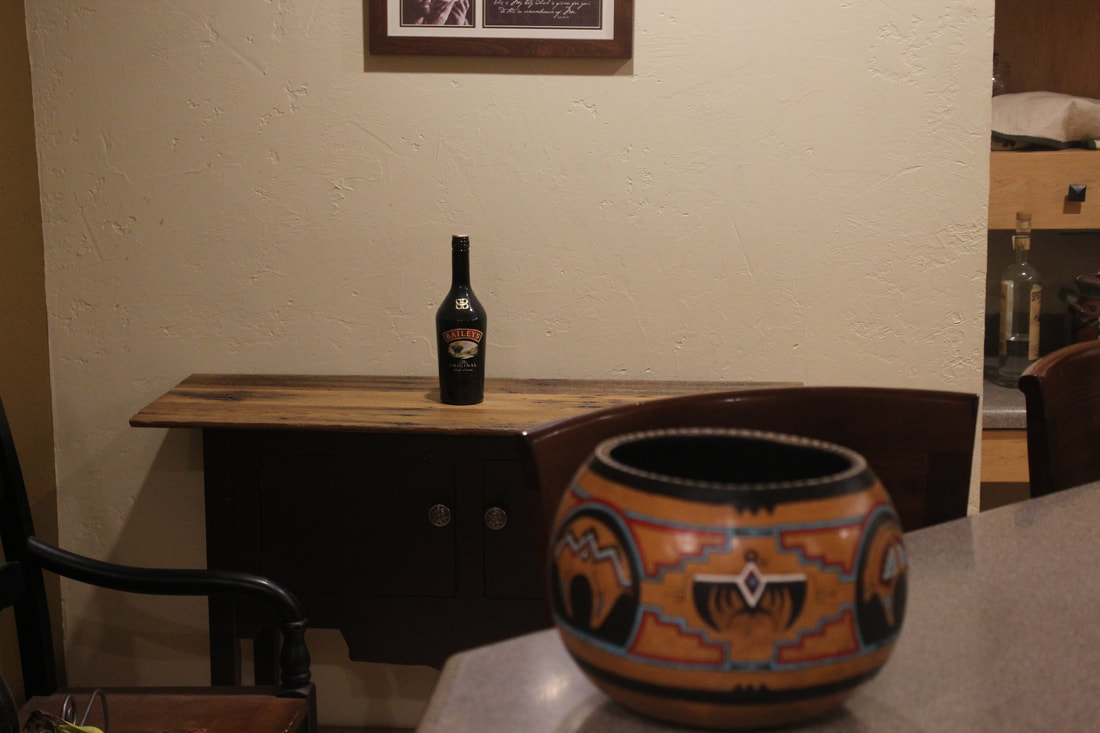
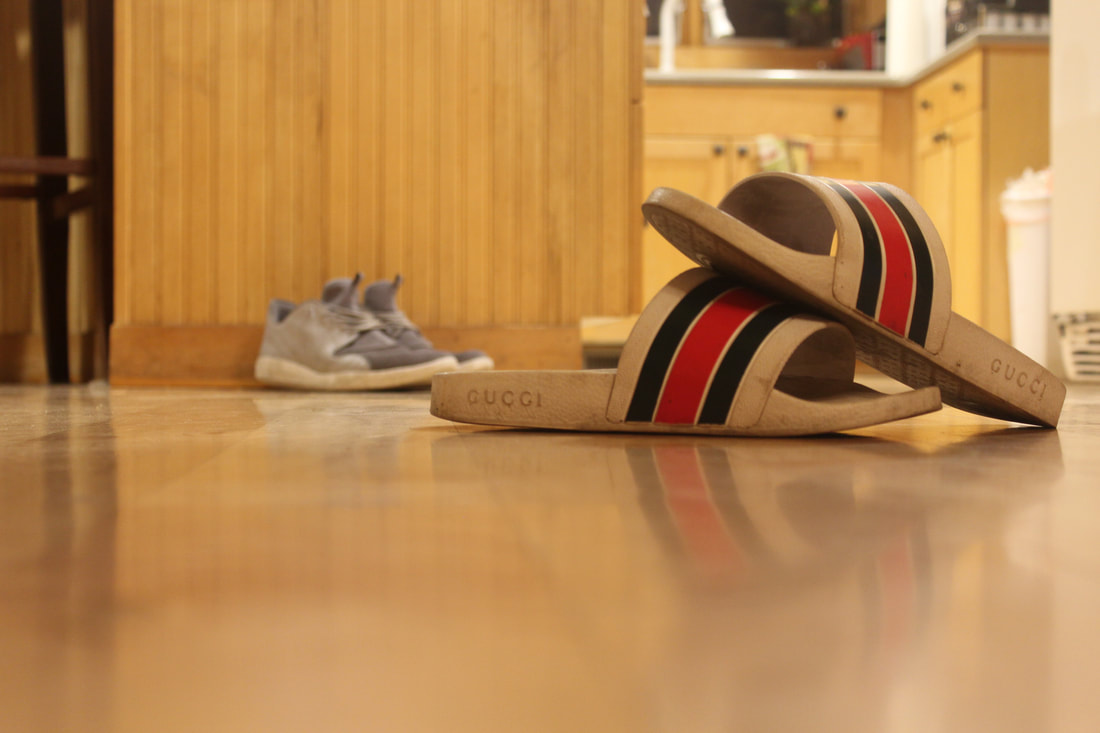
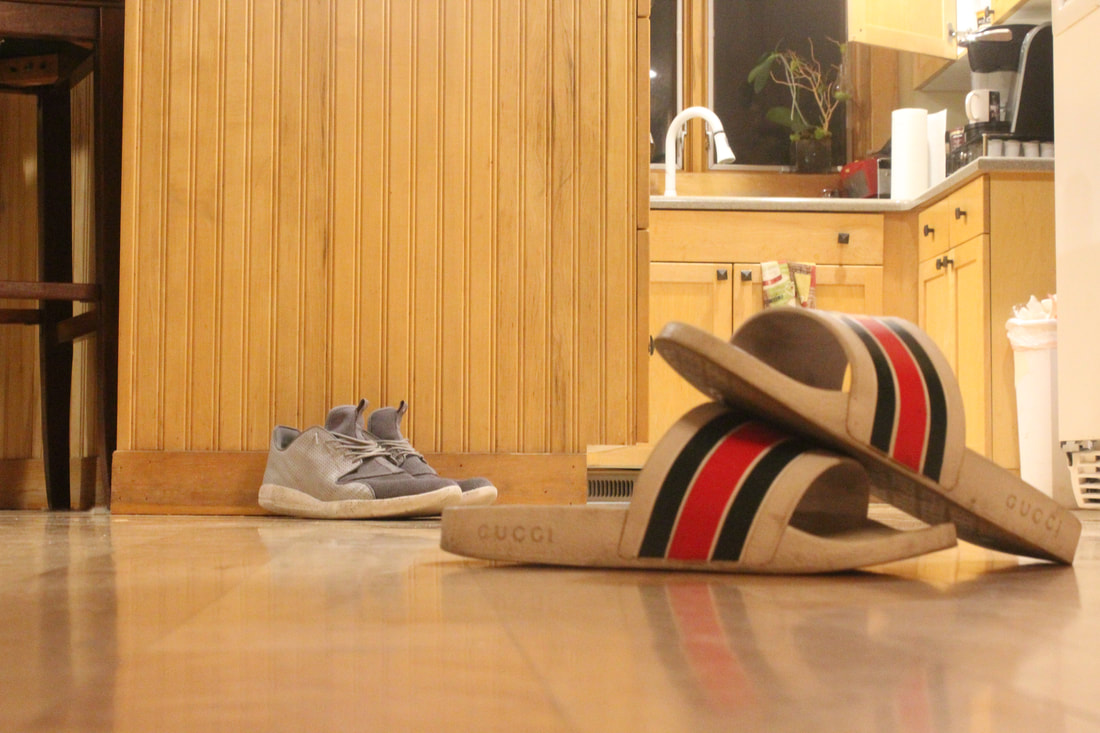
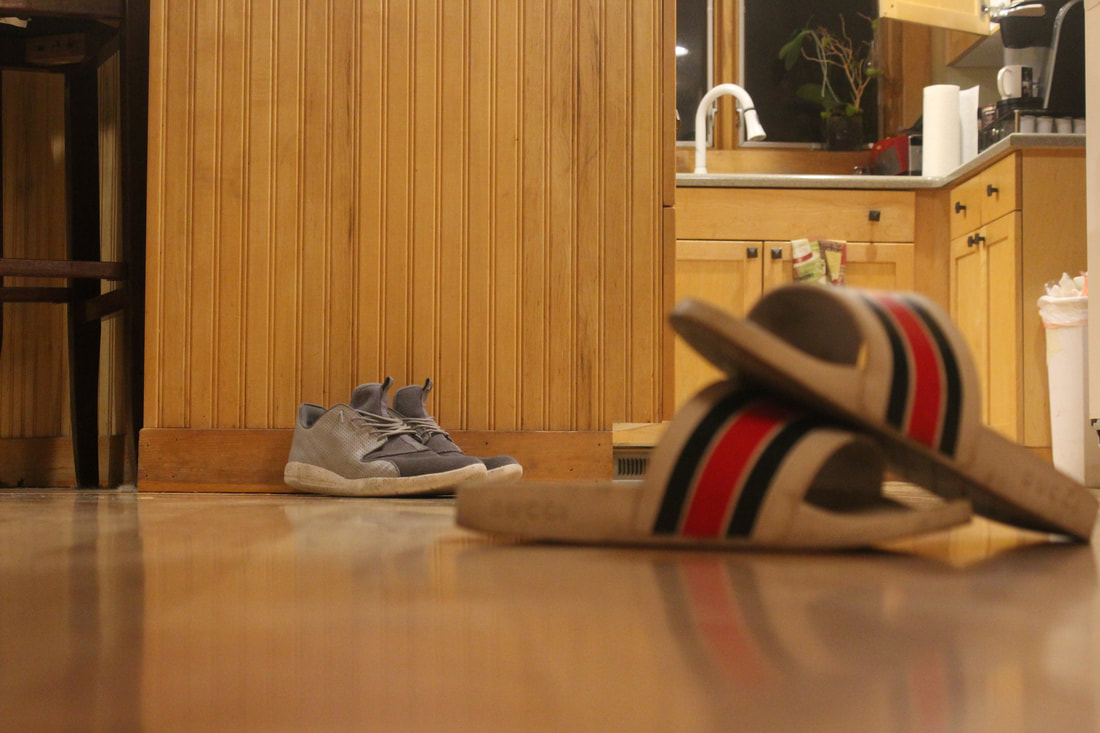
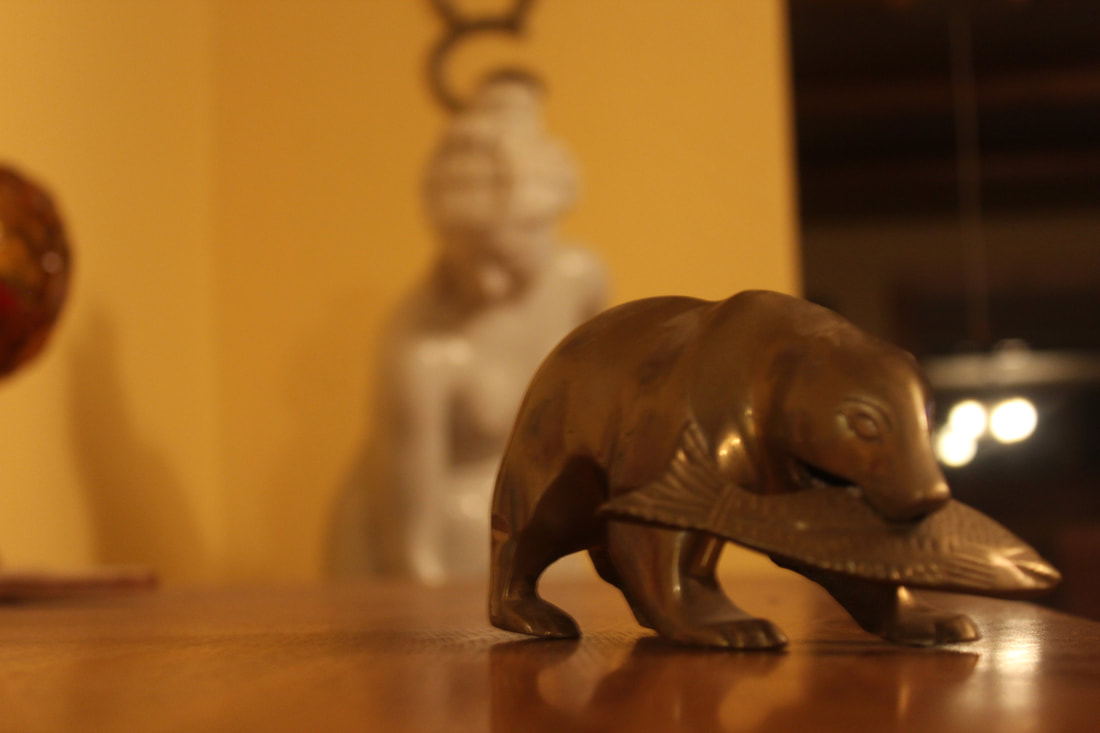
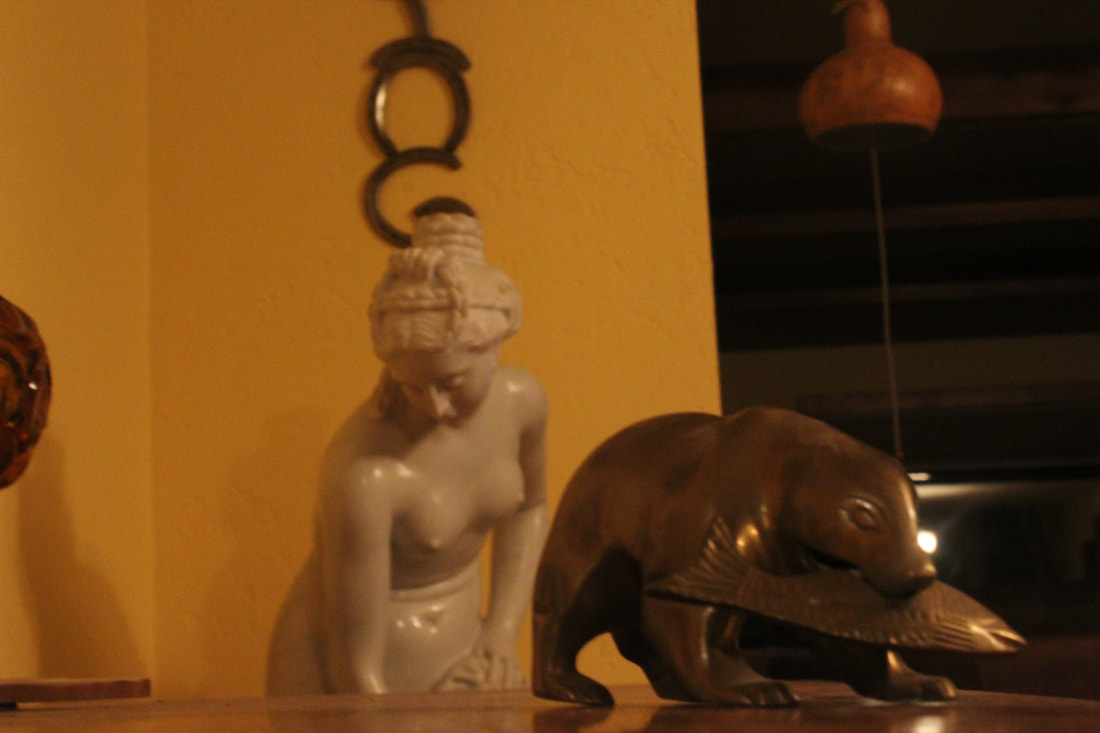
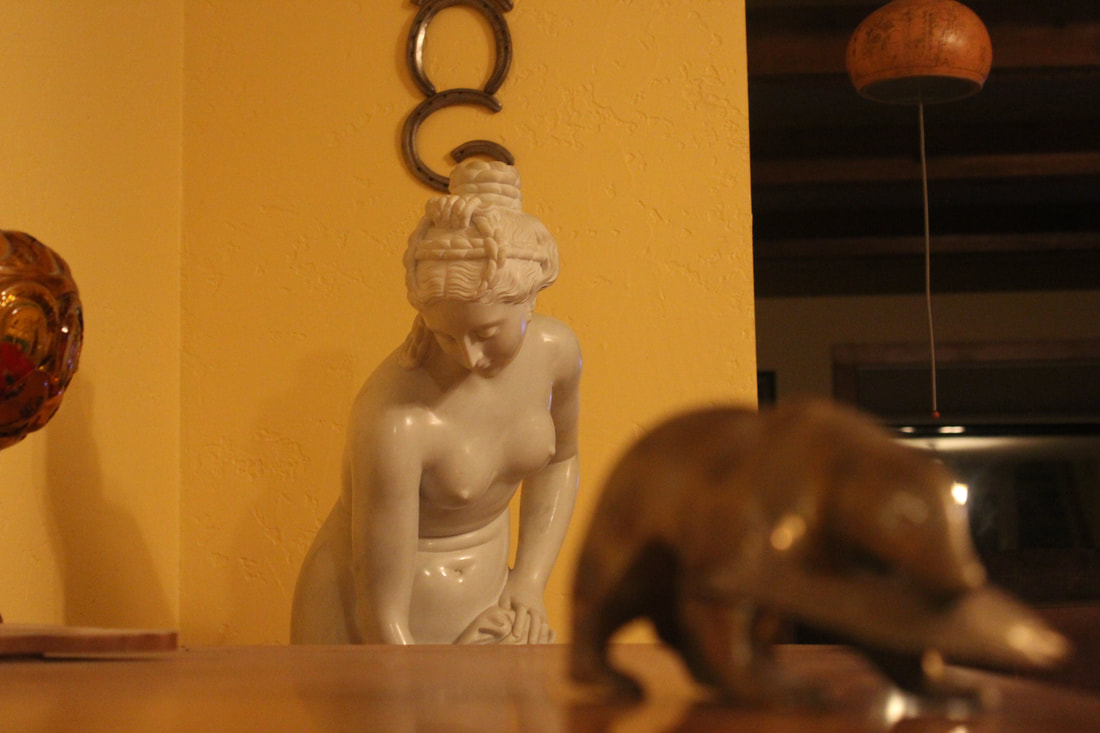
For this assignment we had to take 4 pictures with a narrow, medium and wide depth of field. We would have to continuously adjust the aperture and could change the focal length to get all three DOF for the photos. In order to get these images we had to make sure the distance between the objects was just right.
Controlling Light (Portrait Lighting)
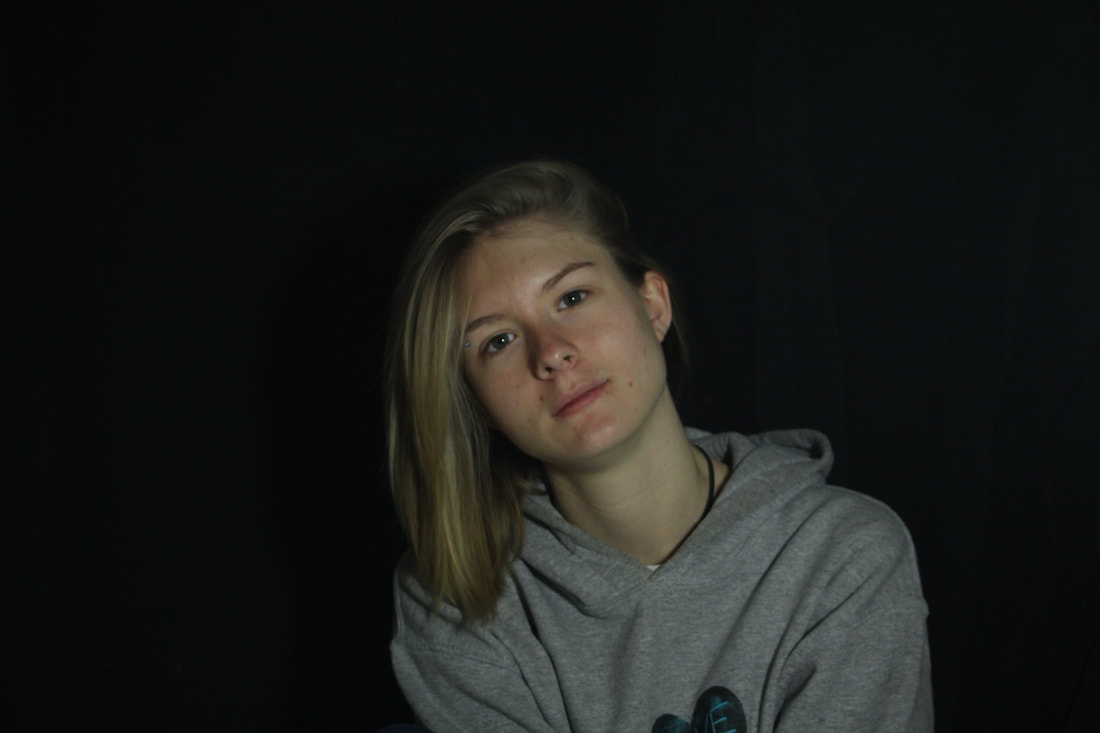
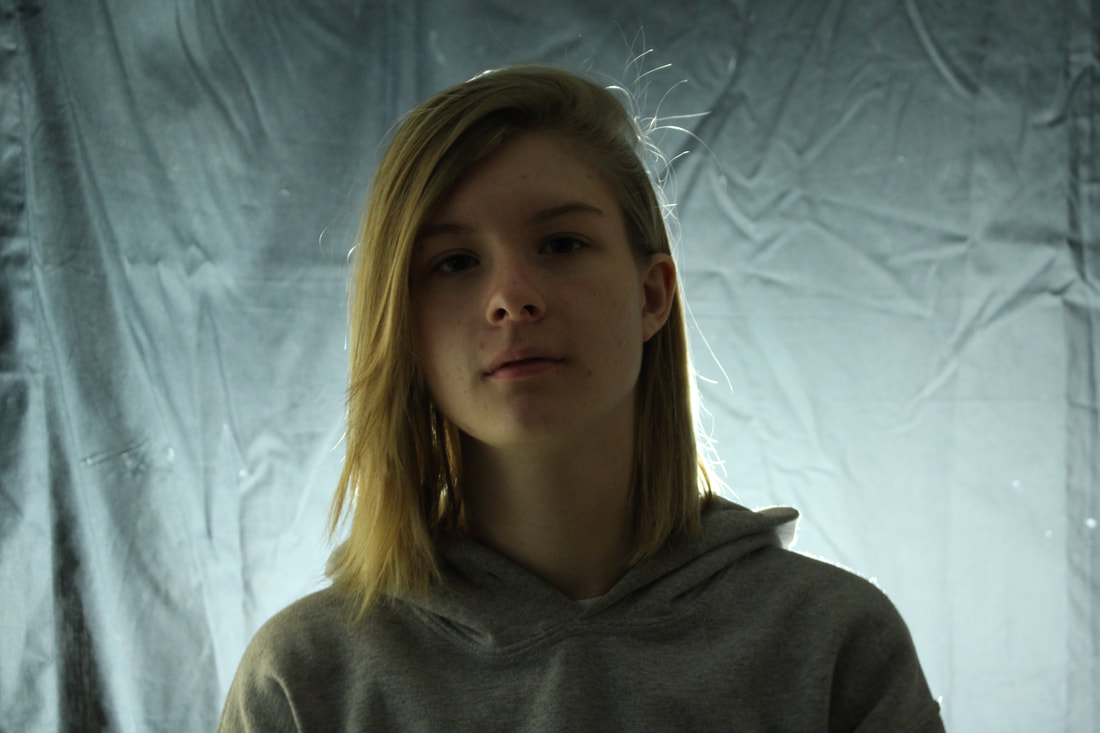
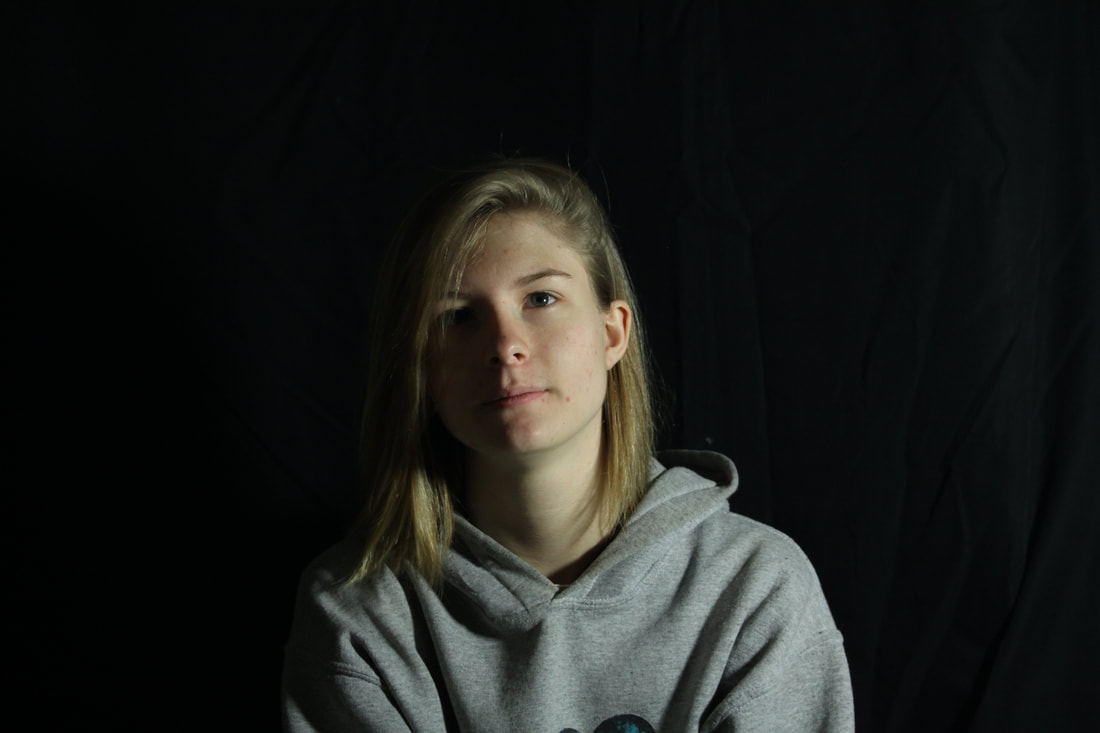
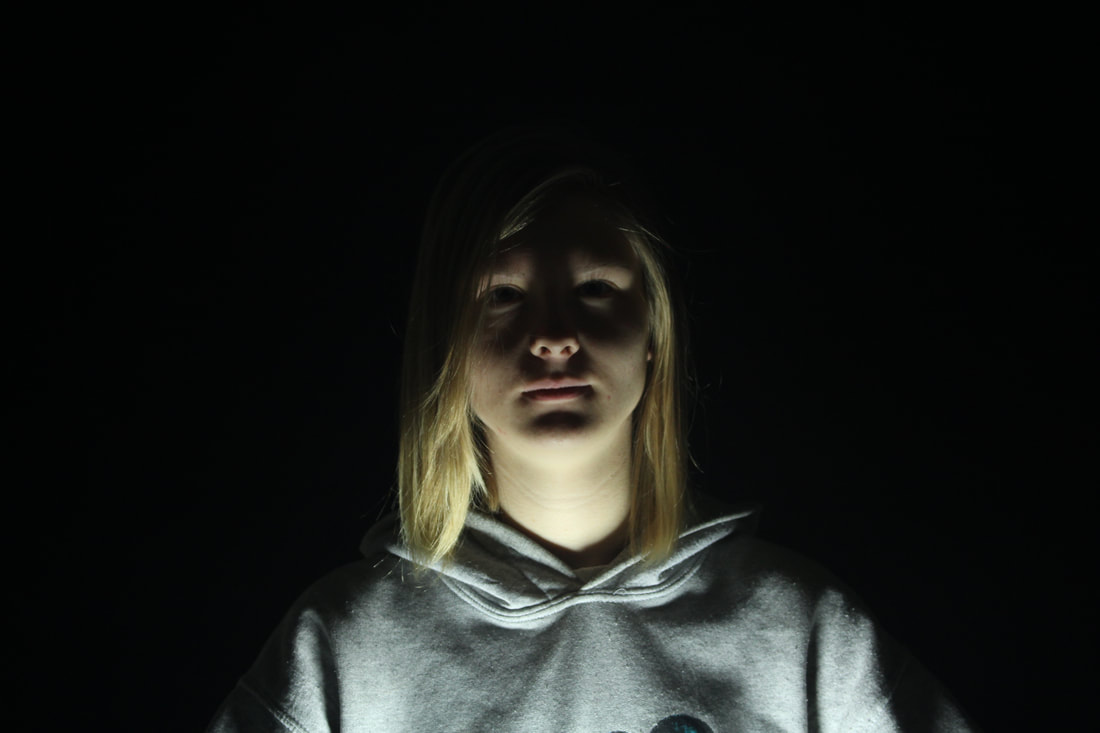
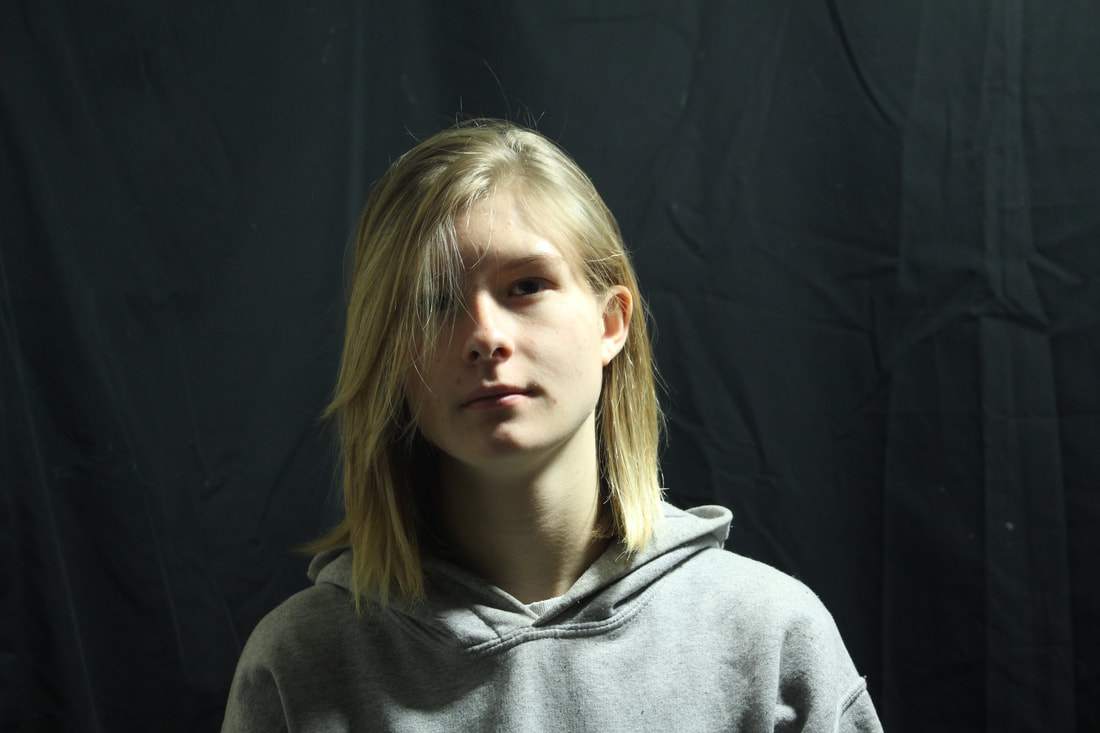
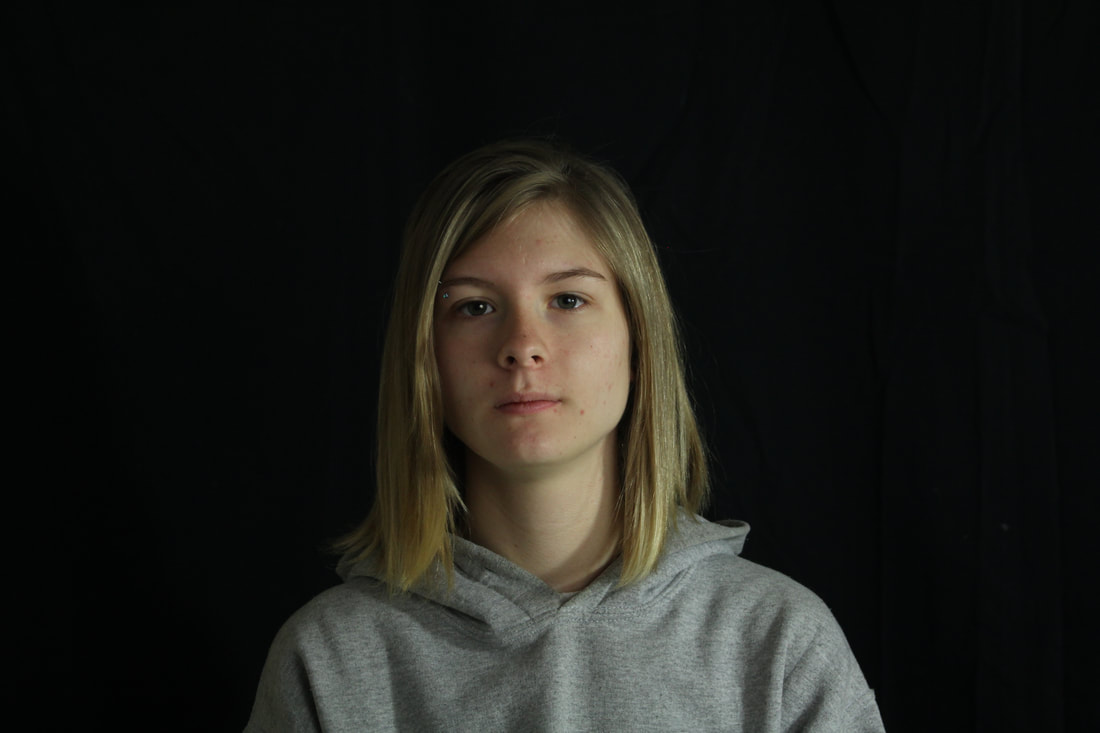
I had a lot of fun with this project because it was cool seeing how you can make the same thing feel and look way different depending on the surrounding light. We had to create the surrounding light and take photos that show the different styles of lighting.
Light Painting
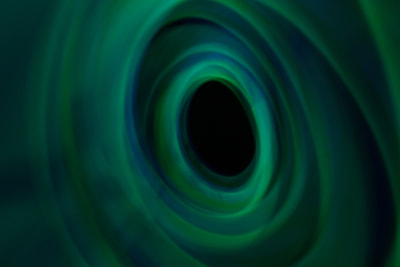
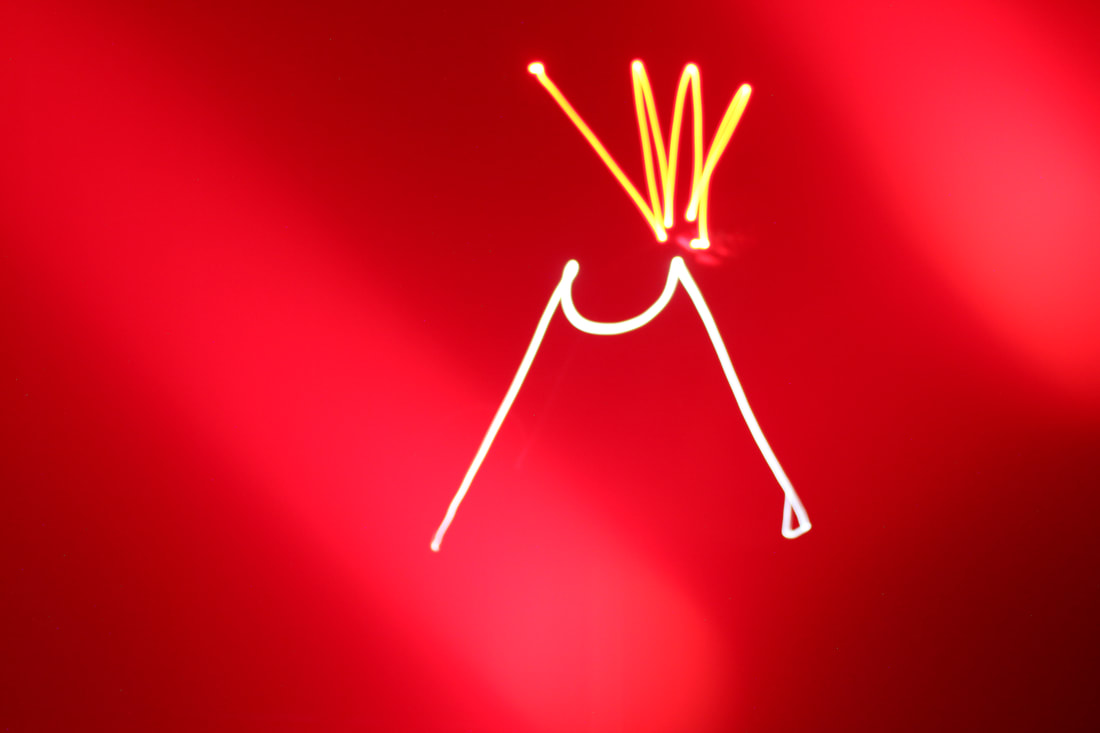
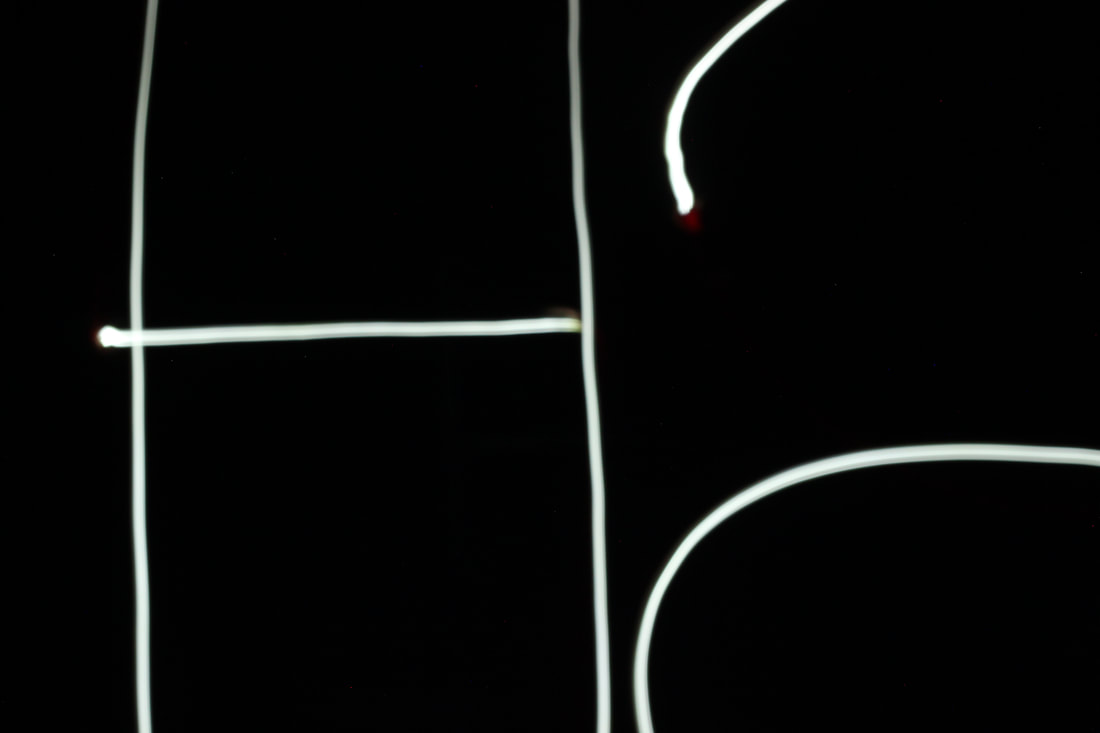
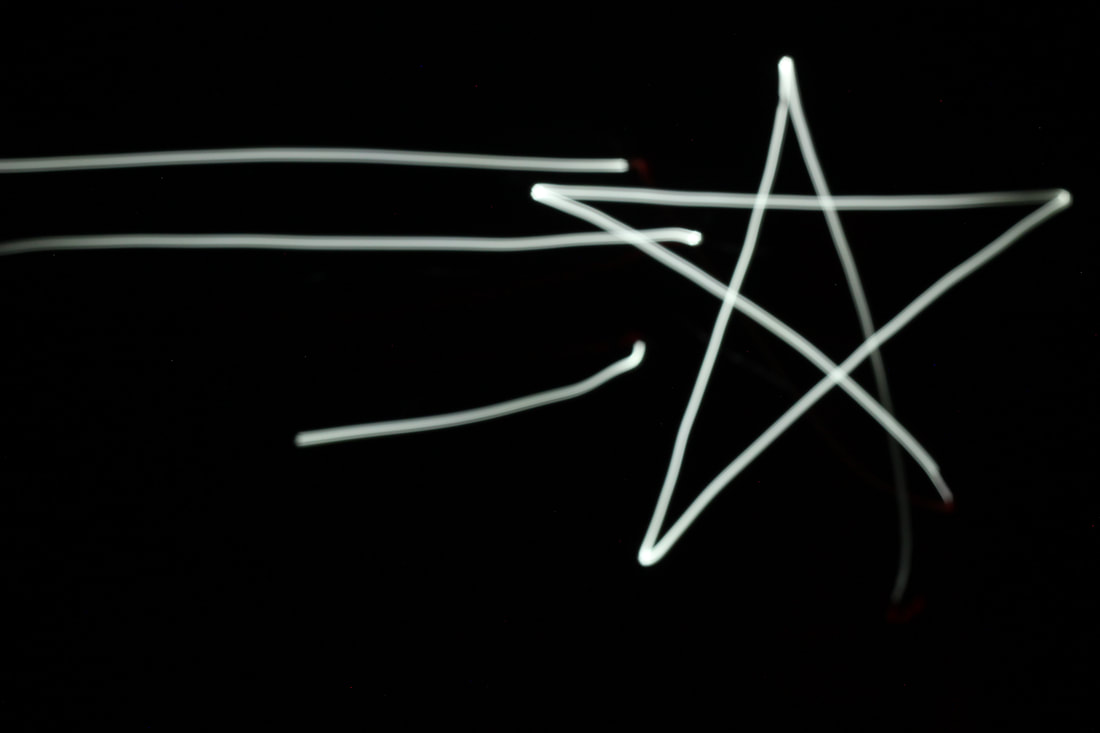
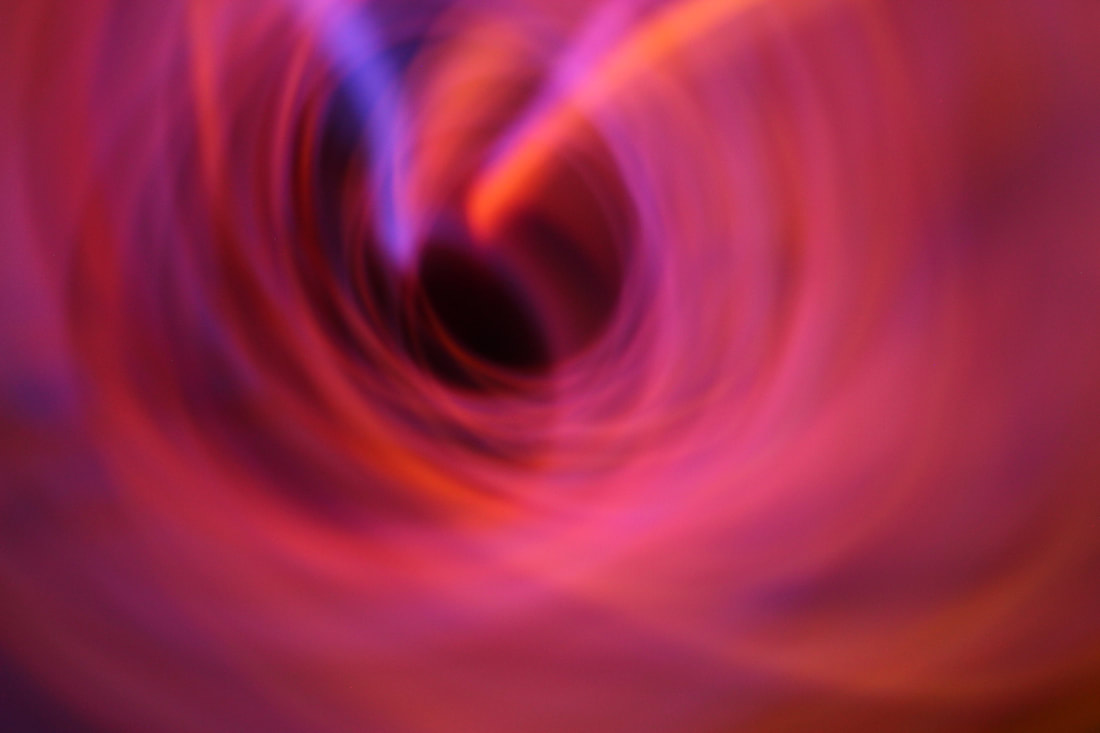
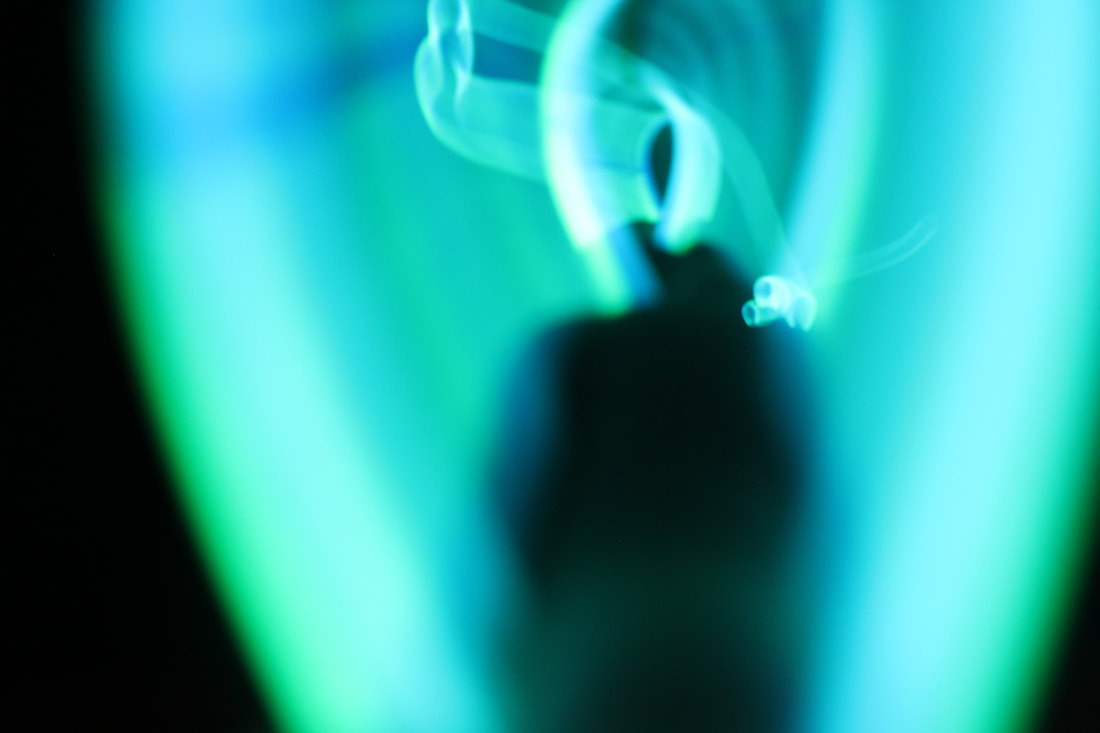
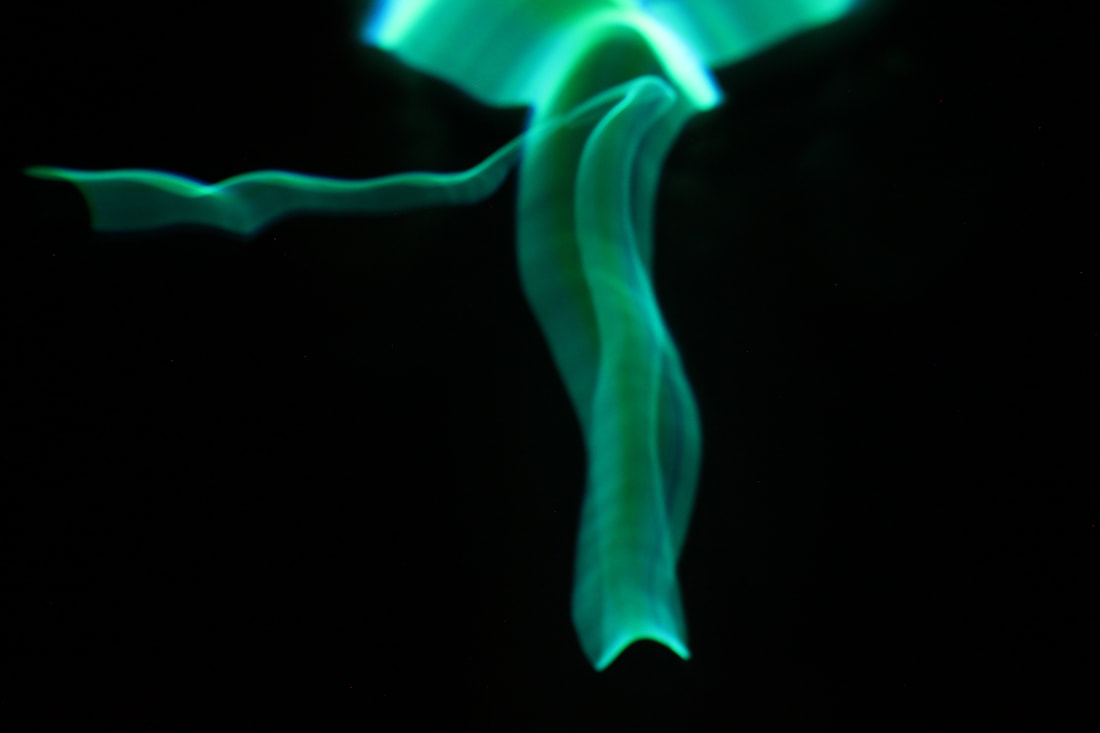

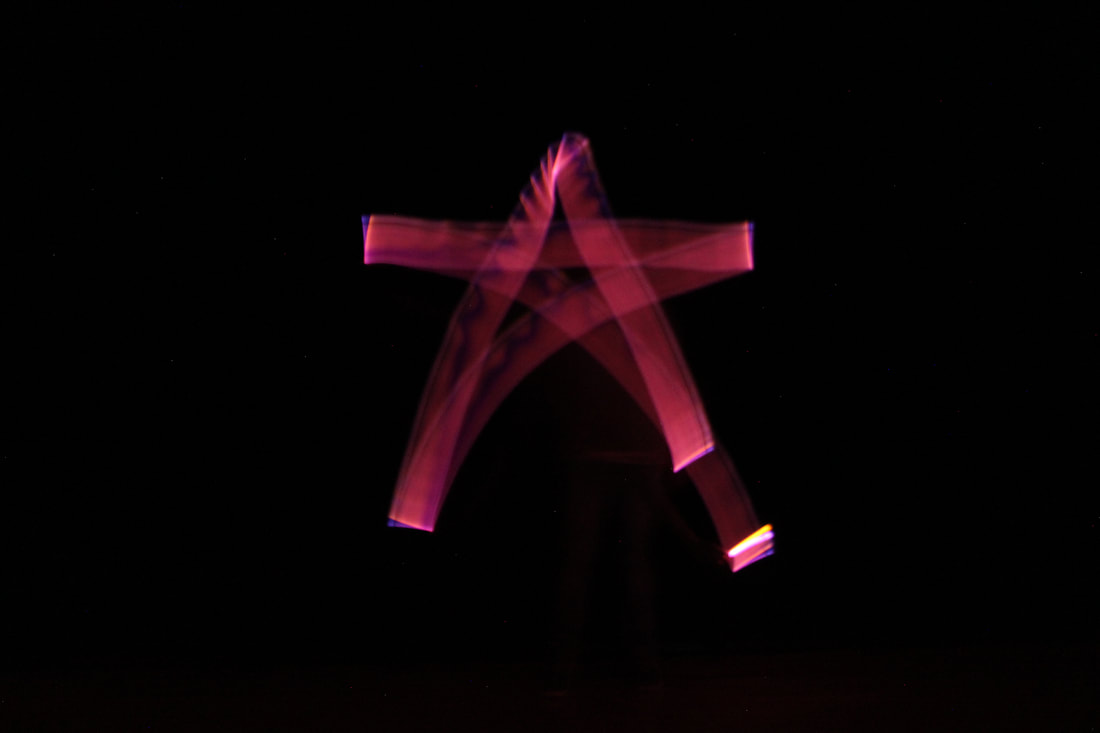
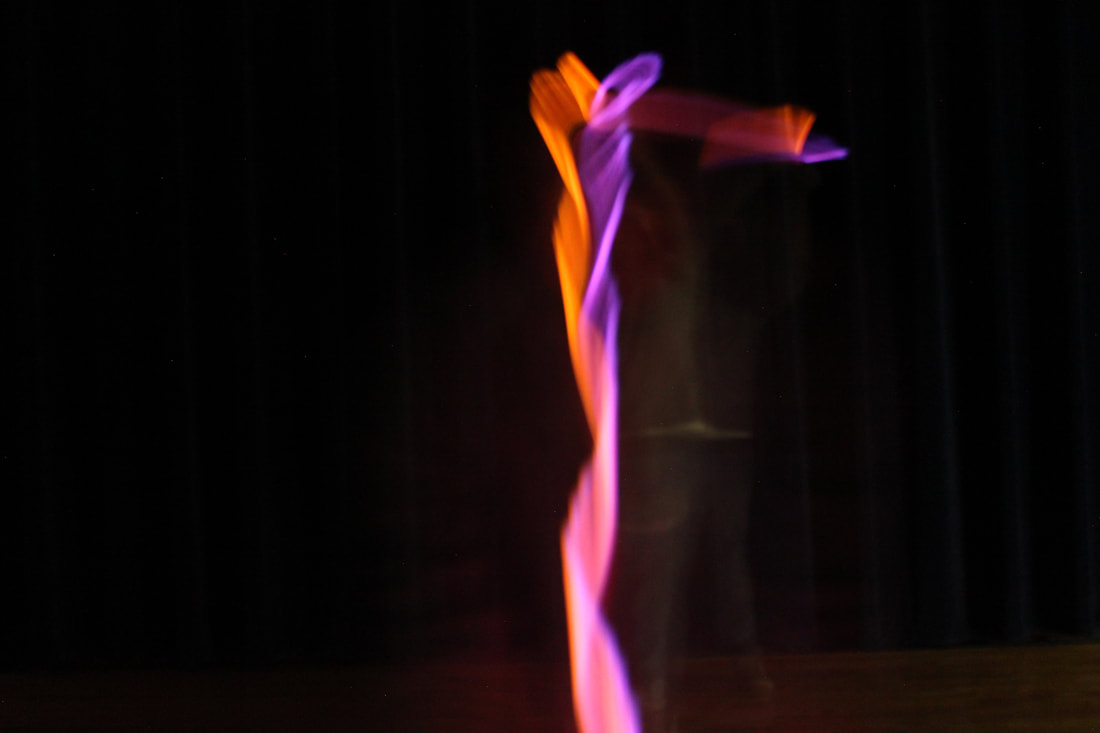
This was definitely the funnest assignment we have done so far. In this project we had to experiment with ISO, long exposures, movement, and artificial light in a dark environment in order to create a light painting. For my main image I used 20 seconds long exposure and a glow stick. I started around the lens while circling and walking backwards for this light paint effect.
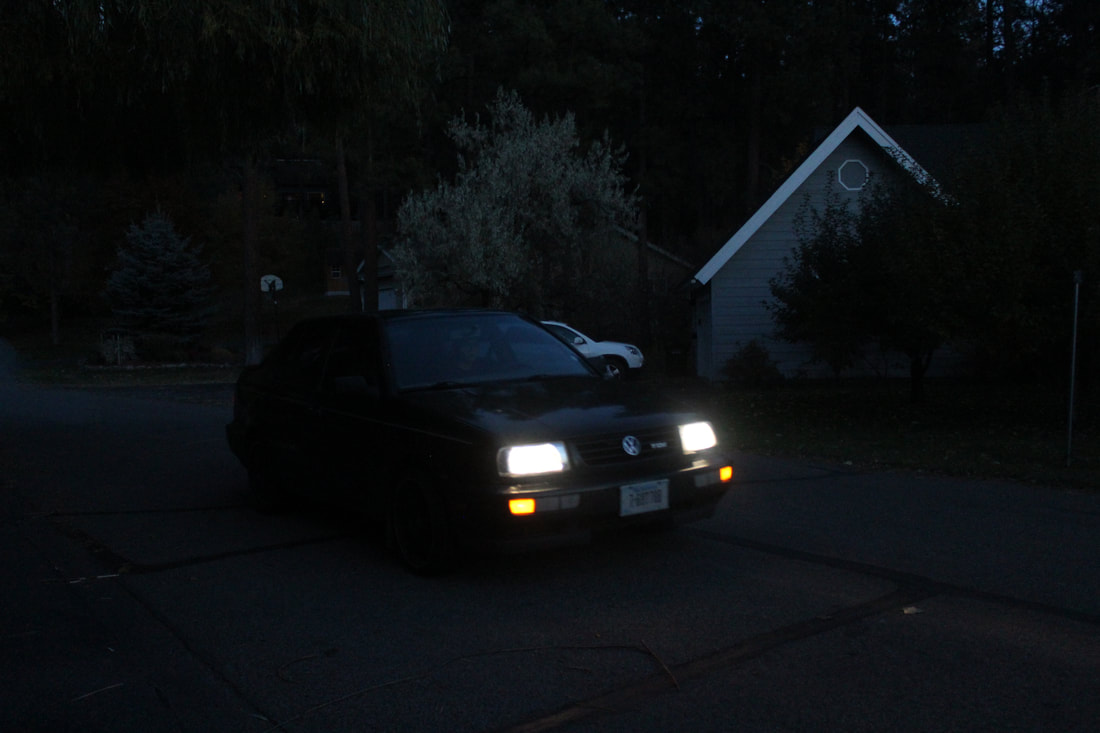
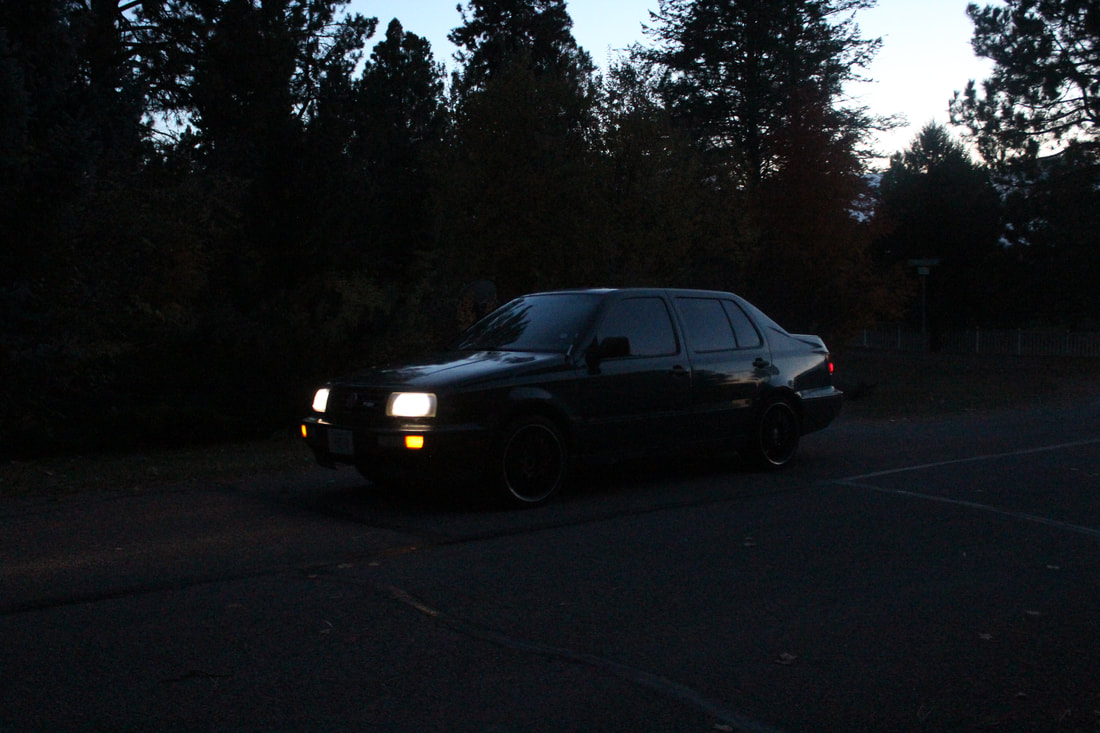
Natural Light
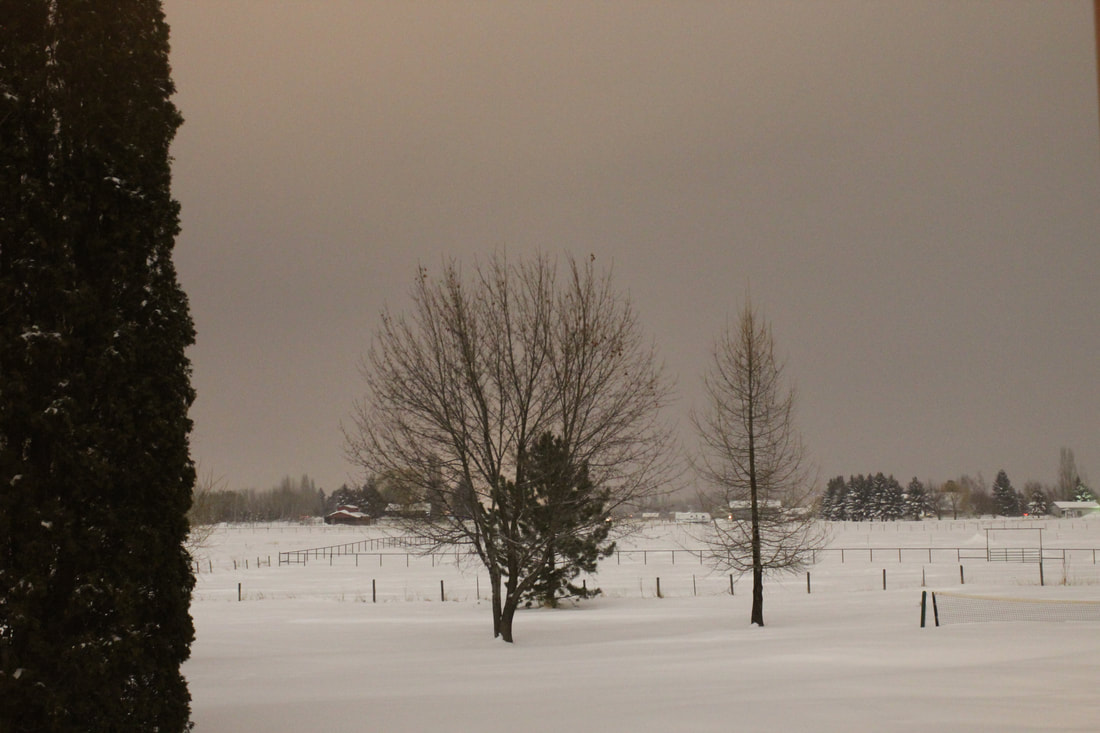

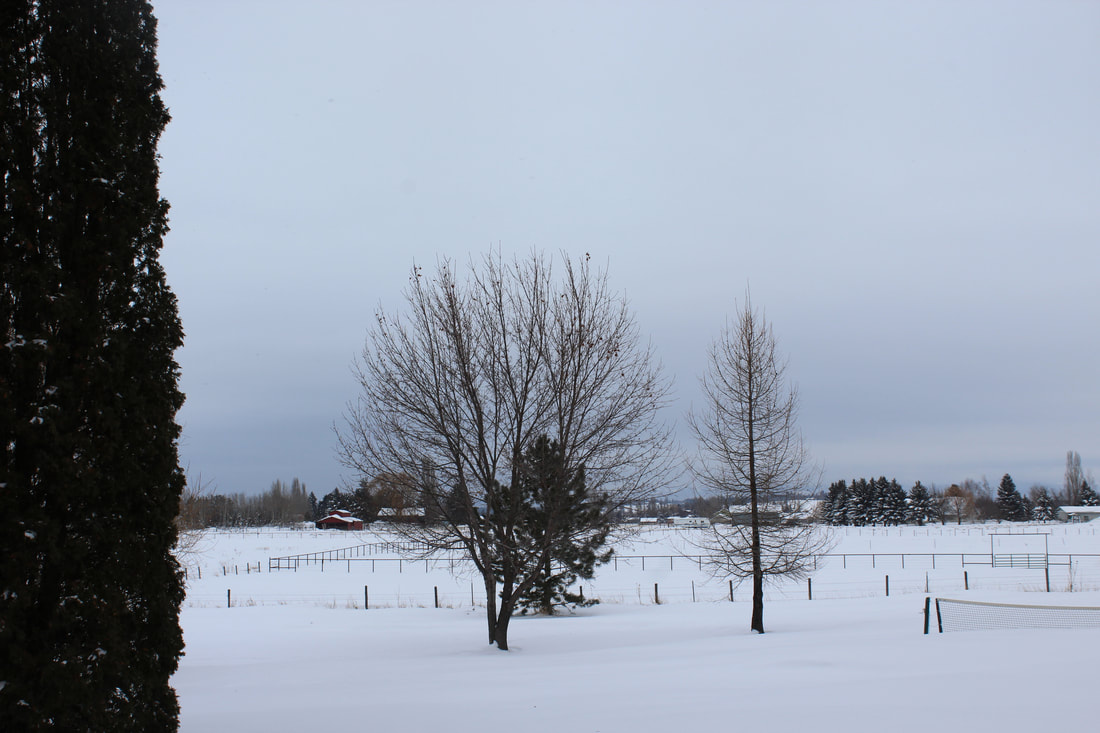
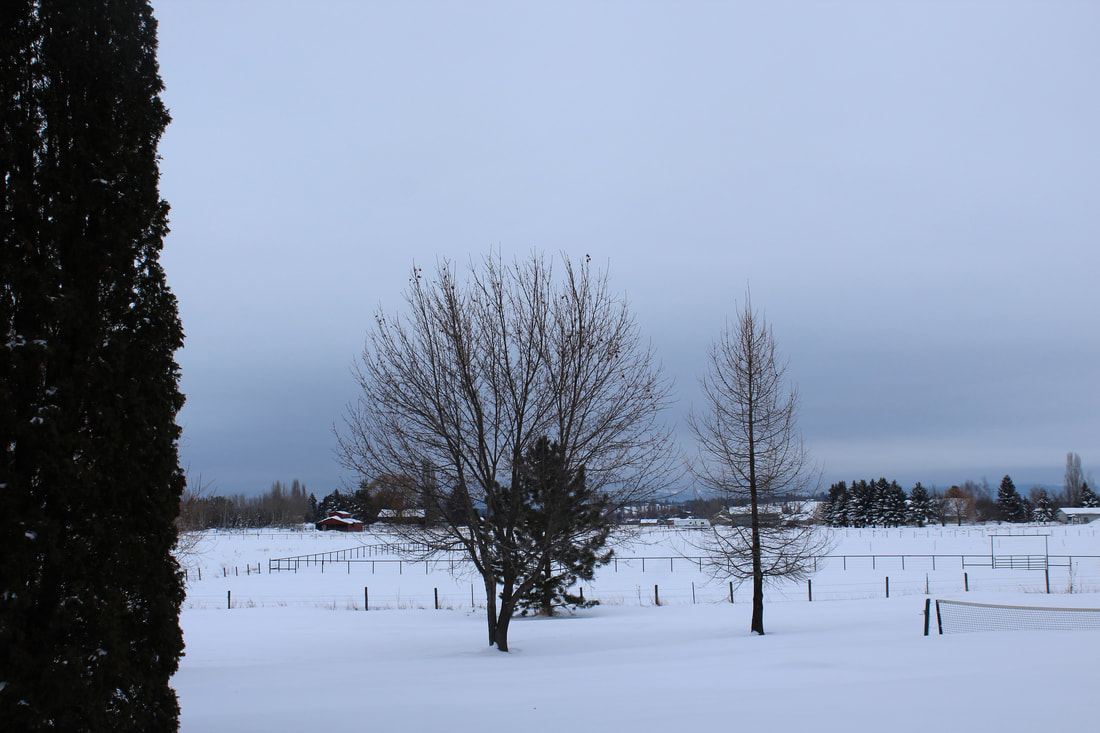
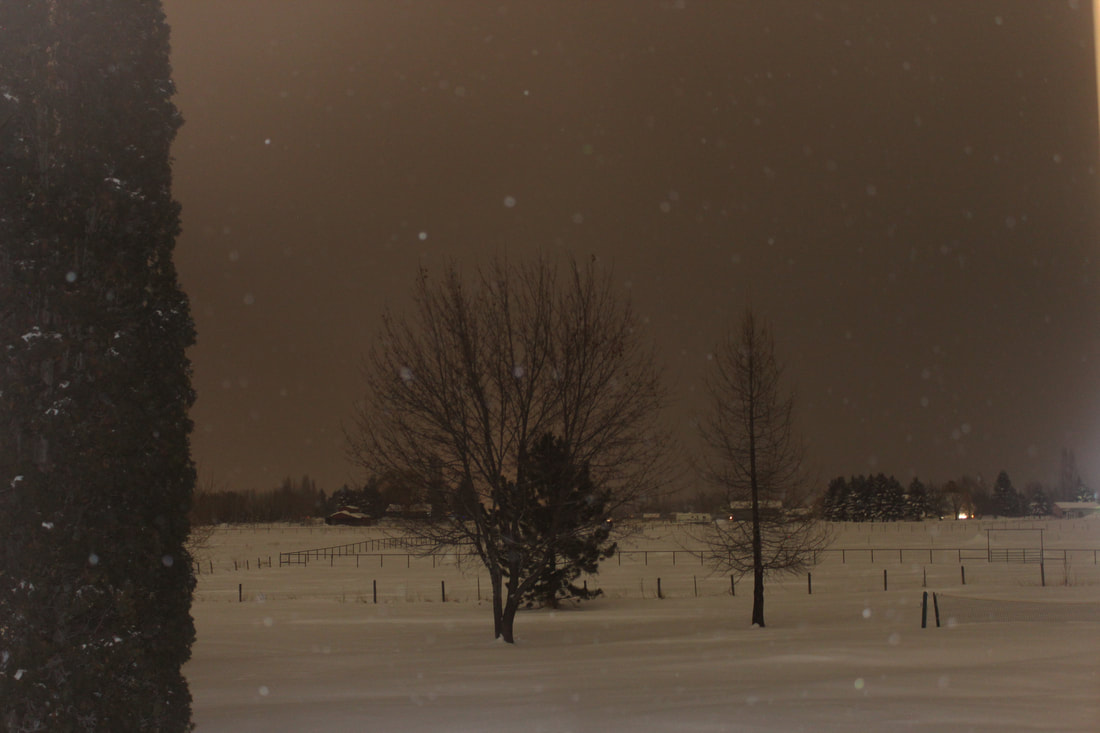
For this project we had to choose an outdoor scene or subject. We then had to photograph the same shot at five different times of day before sunrise, shortly after sunrise, noon-ish, shortly before sunset, and shortly after sunset. I used a tripod for my camera to get perfect consistent shots throughout the day. This was cool because it showed us what natural light does to a scene.
Product photography
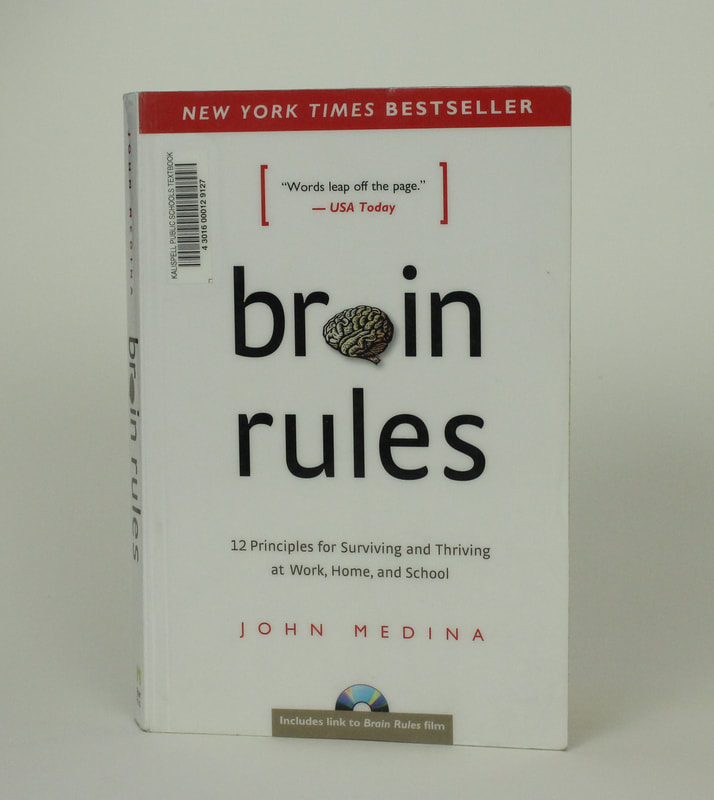
We were to photograph a white object on a white background and a black object on a black background. I used a book I was reading and my phone as the products in this assignment. we blocked shadows and reflected lights to get the perfect shot. I enjoyed this one because it showed me how much has to go into every photo on a website that sells products.
Photoshop: Zombie effect
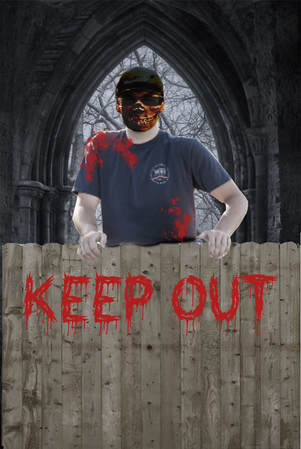
This assignment was definitely on the more challenging side for me. We were to take an existing photo of ourselves and transform that into a realistic looking zombie in photoshop. We practiced with Layer controls, layer masks, selections, and transformations. This was difficult because I am terrible at photoshop but it was still very cool to see what you can make.
Self Image: Selfies with meaning!
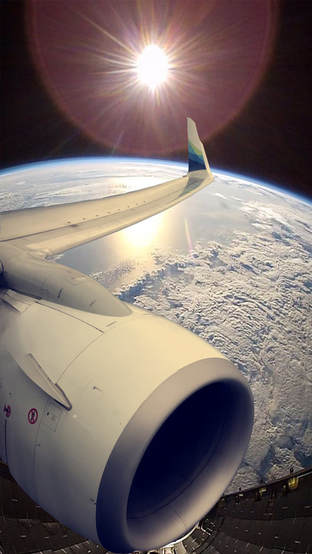
For this project we had to use photoshop effects and composite imagery to put a "spin" on an image and give it a new or different meaning. I used a photo I took when I was in an airplane and an image i took off google of the earth from space. I then composited these photos together in photoshop to give it a new visual meaning.
Photoshop: Defying Gravity

This was another very fun project we have done so far this semester. We had to take images to put them together in photoshop and give an anti gravity effect. I first went outside and took a great picture of the sunset one morning. After that I had my friend take a photo of me sitting criss cross to put into photoshop and apply myself to the original photo to complete the effect.
Elements of Art and Principles of Design
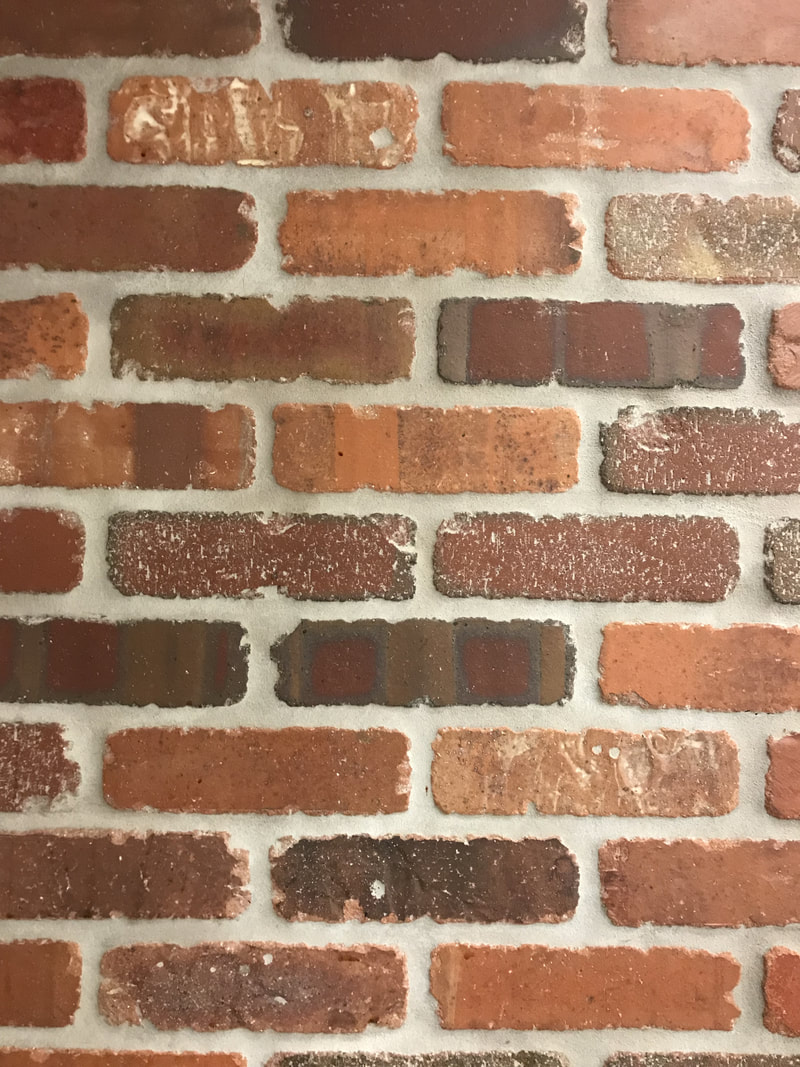
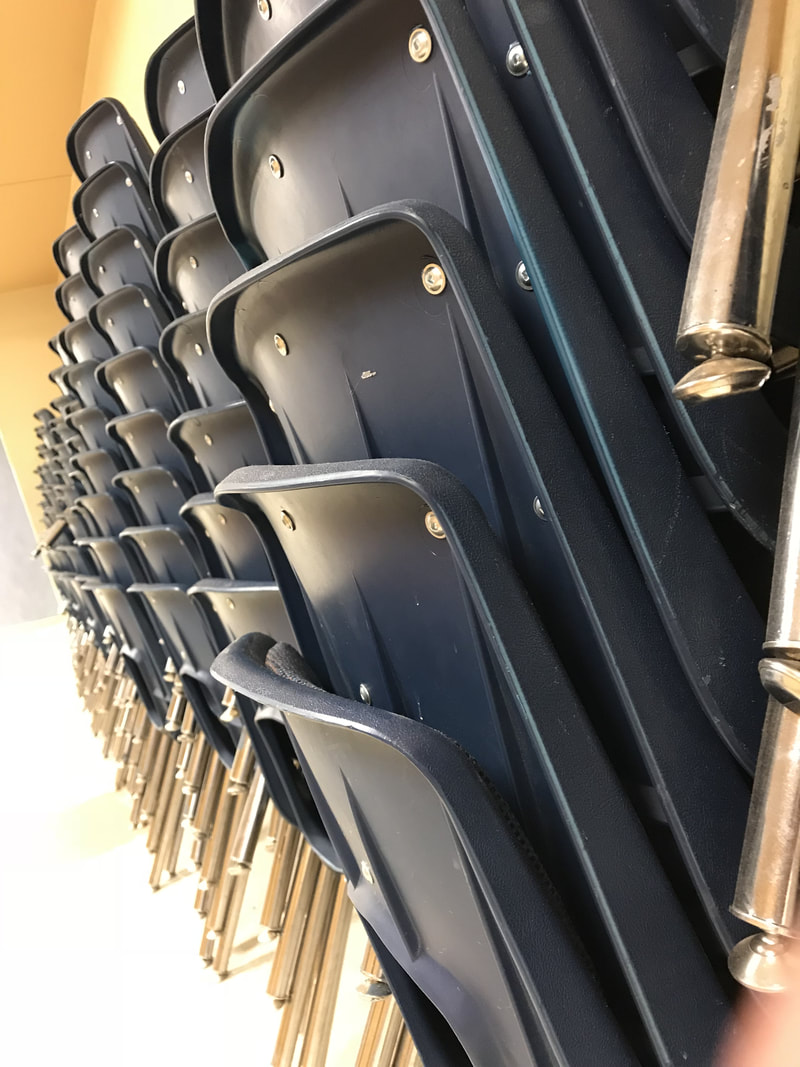
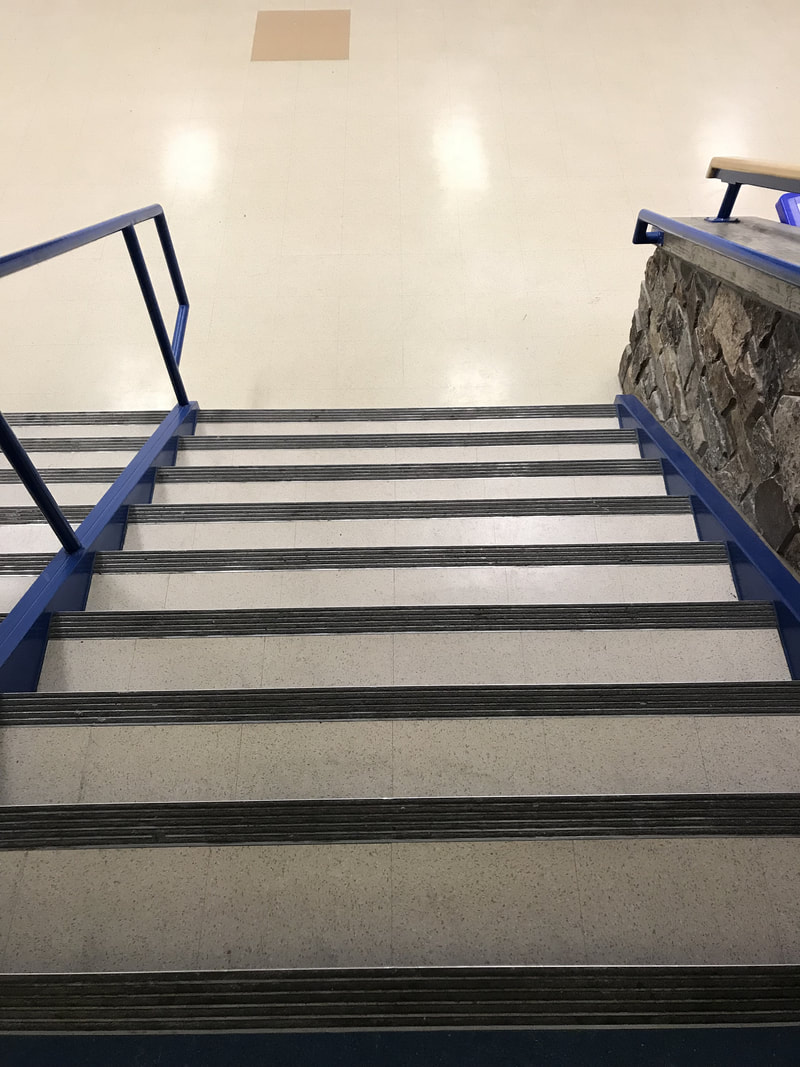
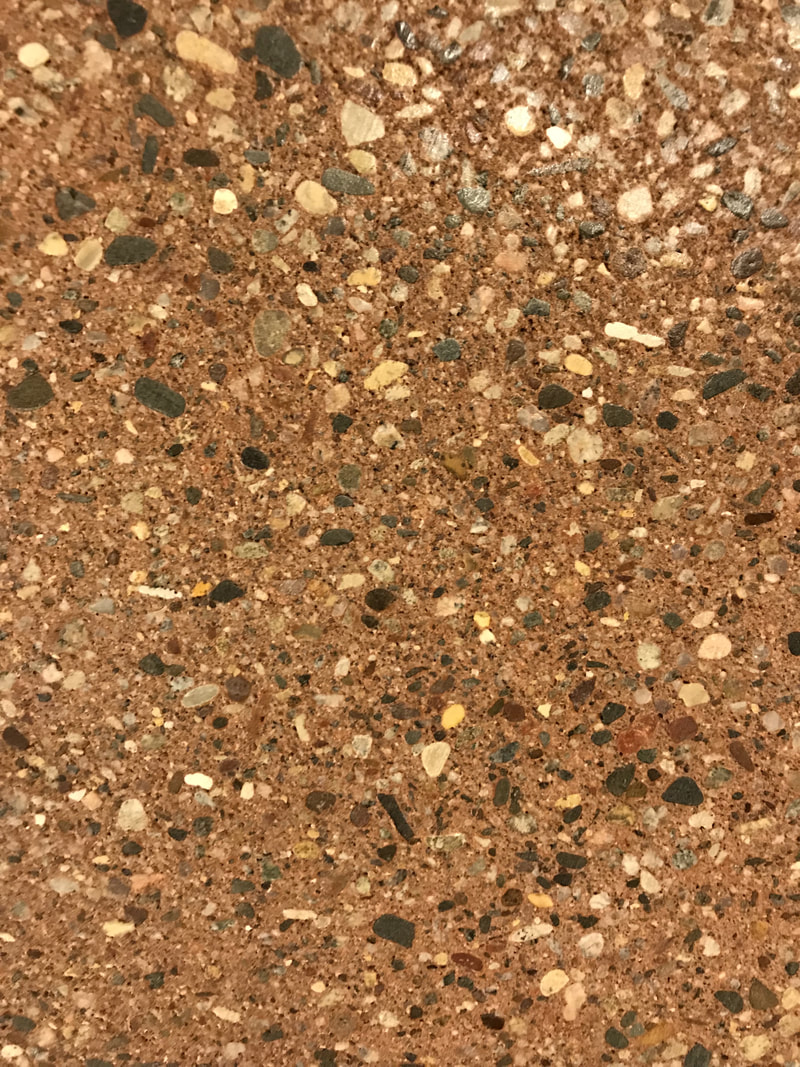
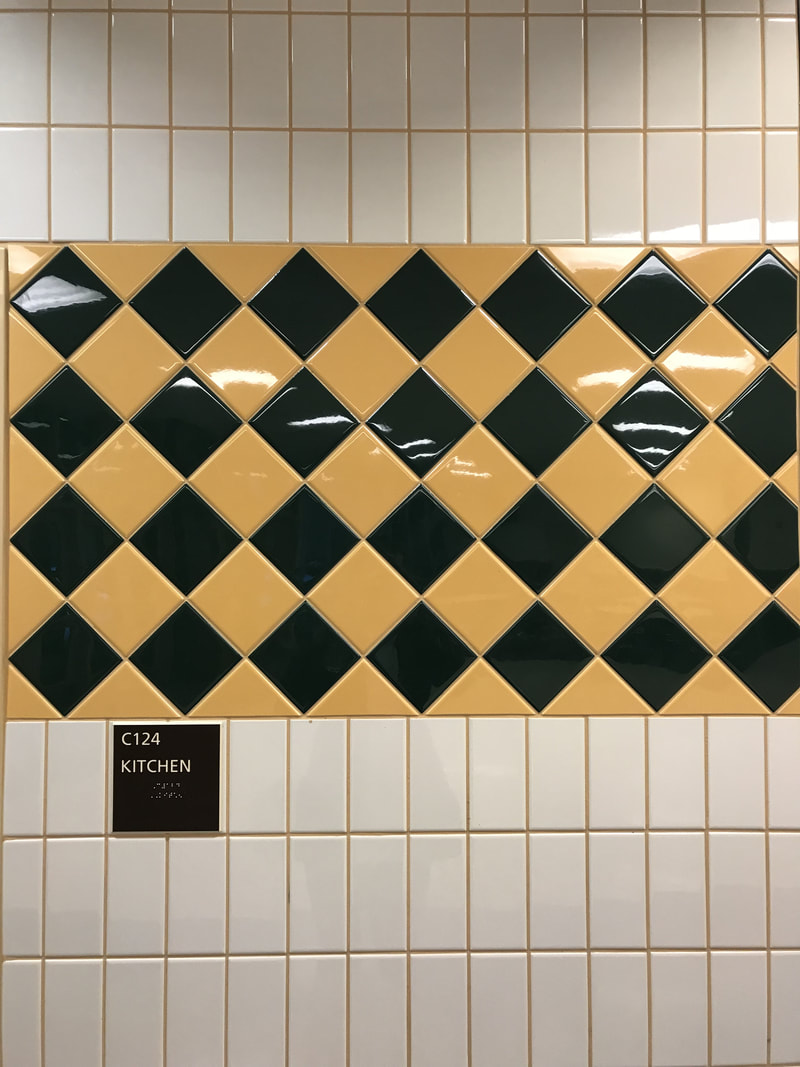

For this one we had to take a photo that illustrates each of the Elements of Art -Line, Shape, Value, Form, Space, Color, Texture and each of the Principles of Design Unity, Rhythm, Pattern, Movement, Emphasis, Contrast, Balance. These pictures were taken from many different locations.
Free Choice
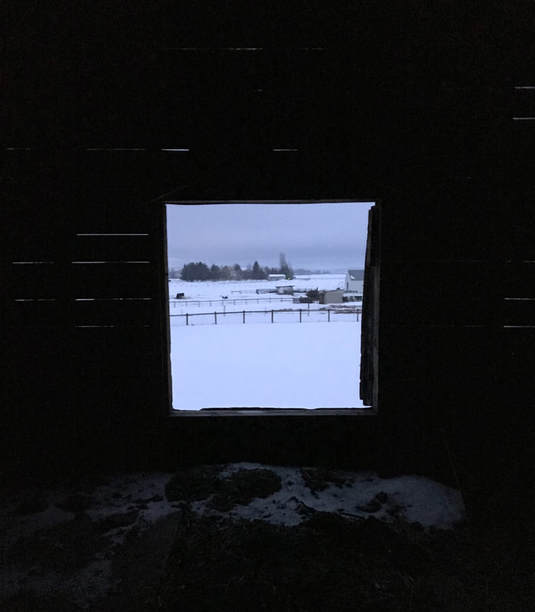
I chose this technique because I thought it was a very unique way of looking at things through something else. This technique worked well because I had the perfect barn to take it out of as well. I applied it by taking the photo but making sure I showed a closer frame to get the desired effect. Three things I learned from these explorations is that one, I learned there is much more to photography that I even knew about and there are so many different aspects of it. Another thing I learned is that while taking photos if you are using photoshop you don't have to be so precise because you can change so much with edit software it really doesn't matter. Finally the most valuable thing I learned from all my explorations is Being aware of light, angles, shadows, color and so many things rather than just the setting on the camera are important to be aware of to get great shots!
